Okay, so this is the third (make that fourth) and final post about the floors.
We were somewhat dissatisfied with the finished state of the floor, which looked to need numerous touchups, was not what we would have liked. We noticed that several easily made scratches were present, and there were places which appeared to be peeling: NOT how you want the final floor to look like.
At first, we thought we were just going to ask our floor guy to come back for touchups. When he looked more closely, he thought that maybe a new topcoat would be the best choice.
However, after doing a sample area, he noticed that the finish would not lay down smoothly after all – that something else seemed to be wrong.
And it was.
The manufacturer of the finish let him know after he called them that there had been a bad batch released. That it was not chemically bonding to the other coats as it should have, resulting in a softer finish, and one that could peel off.
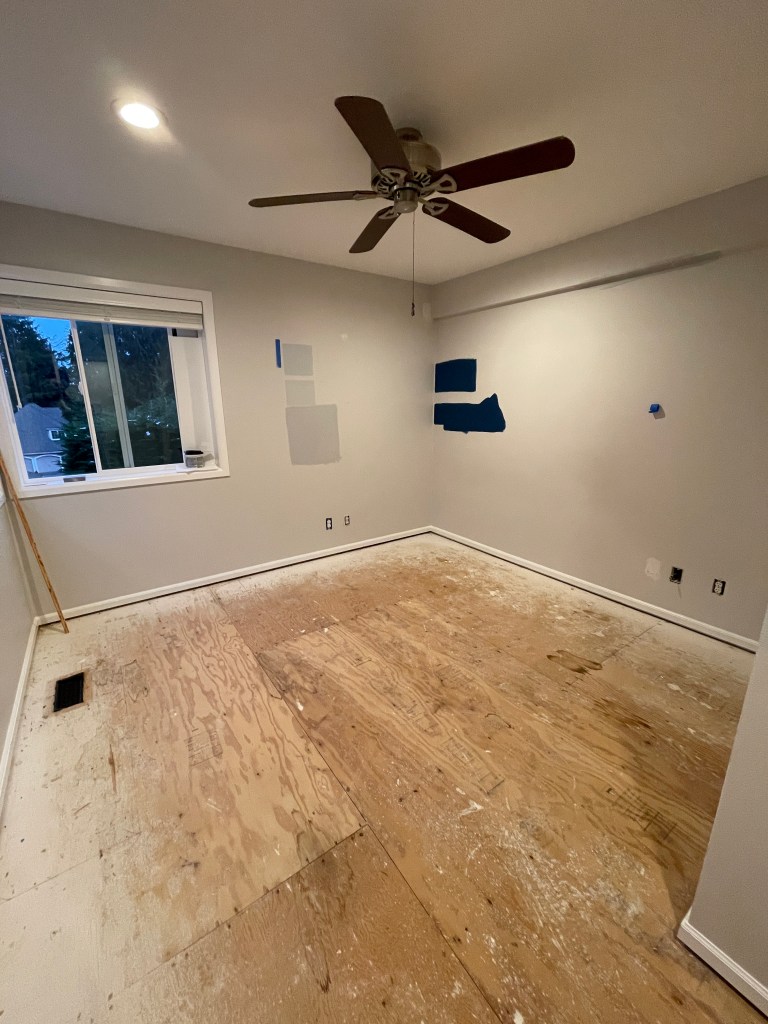
So, that meant back to bare wood.
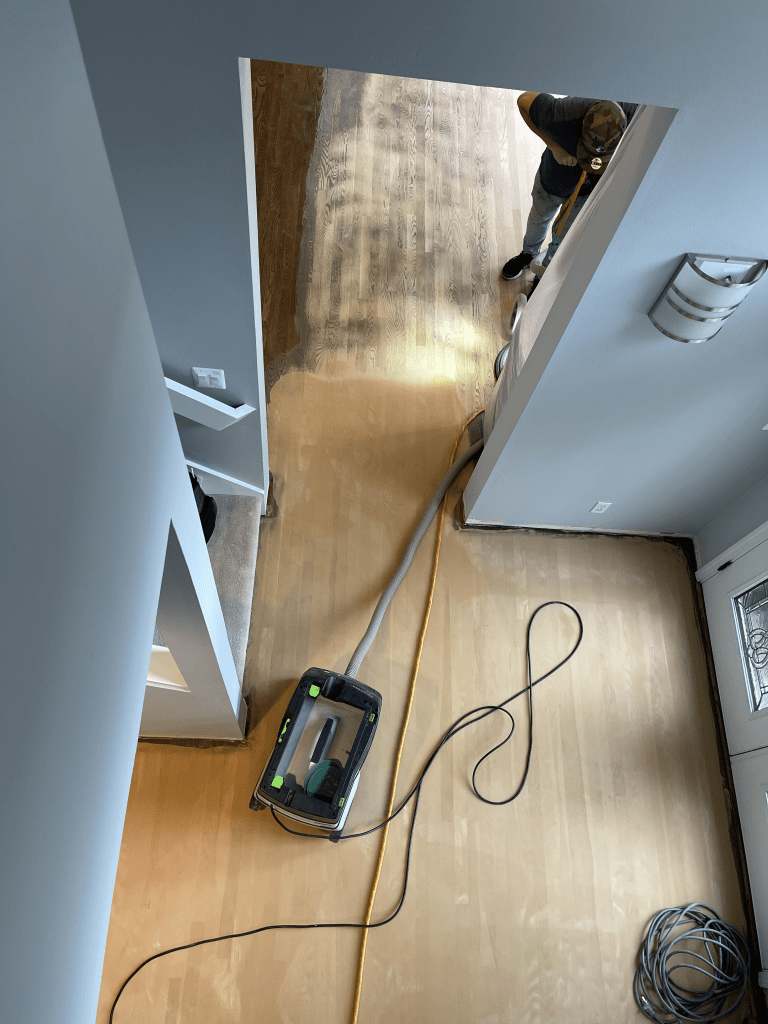
The entry hall in process of sanding back to bare wood.
Since we had to go back to bare wood, that would take care of all of the “blemishes” we wanted to get fixed. We just had to be out of the house for three days. Good thing I had some hotel points.
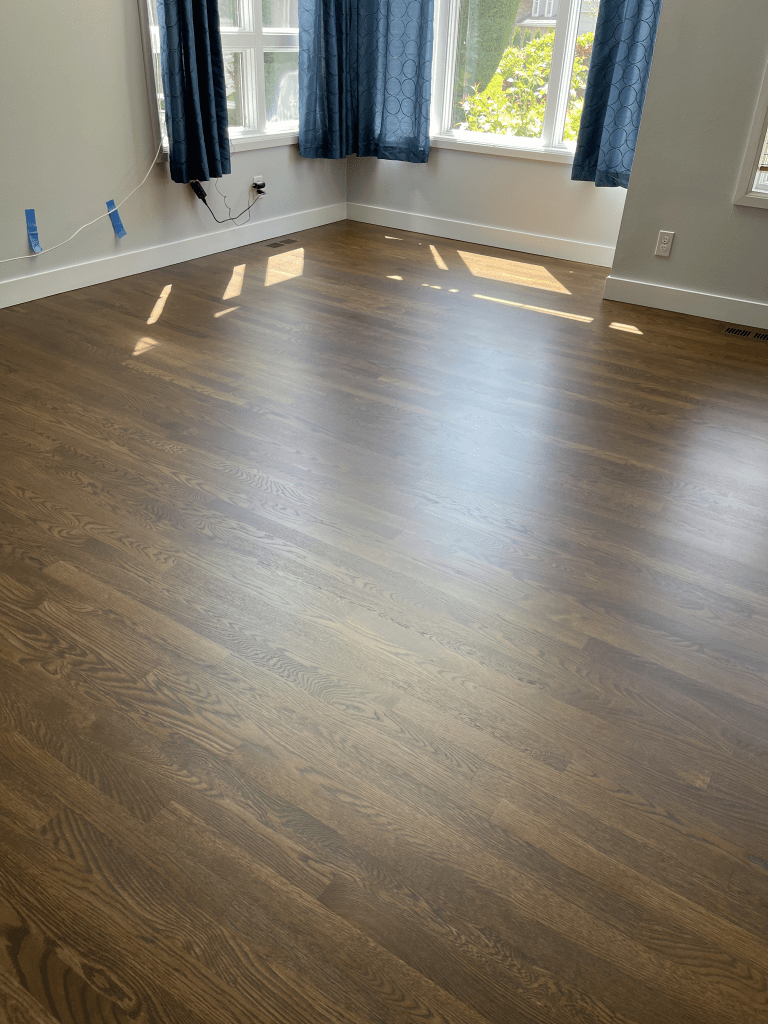
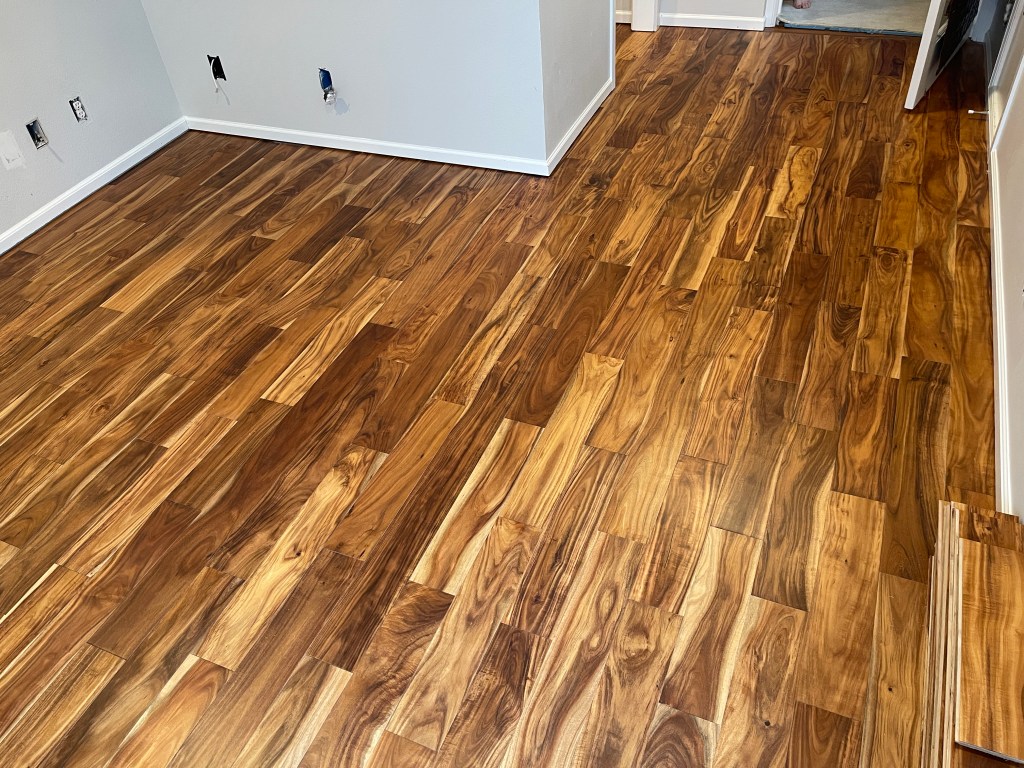
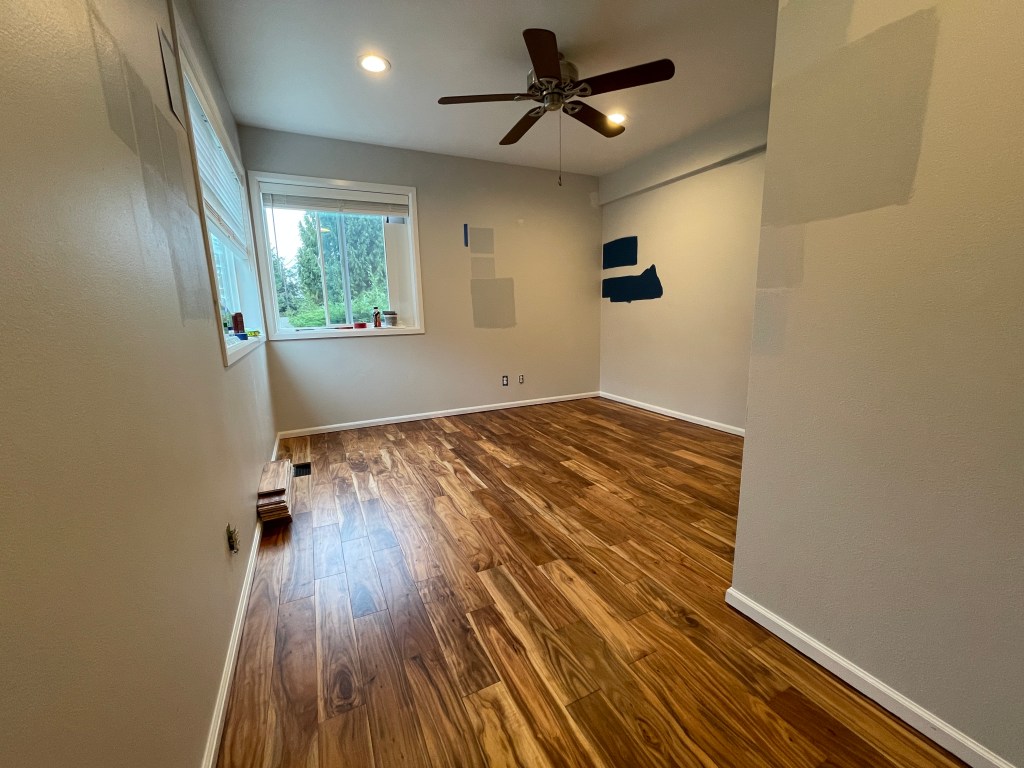
Here is a picture of the front/dining room final finish.

A view in the hallway.
I have to say that the floor even FEELS better on our feet – like it wasn’t quite right before, but is now. It feels more solid and less slippery.
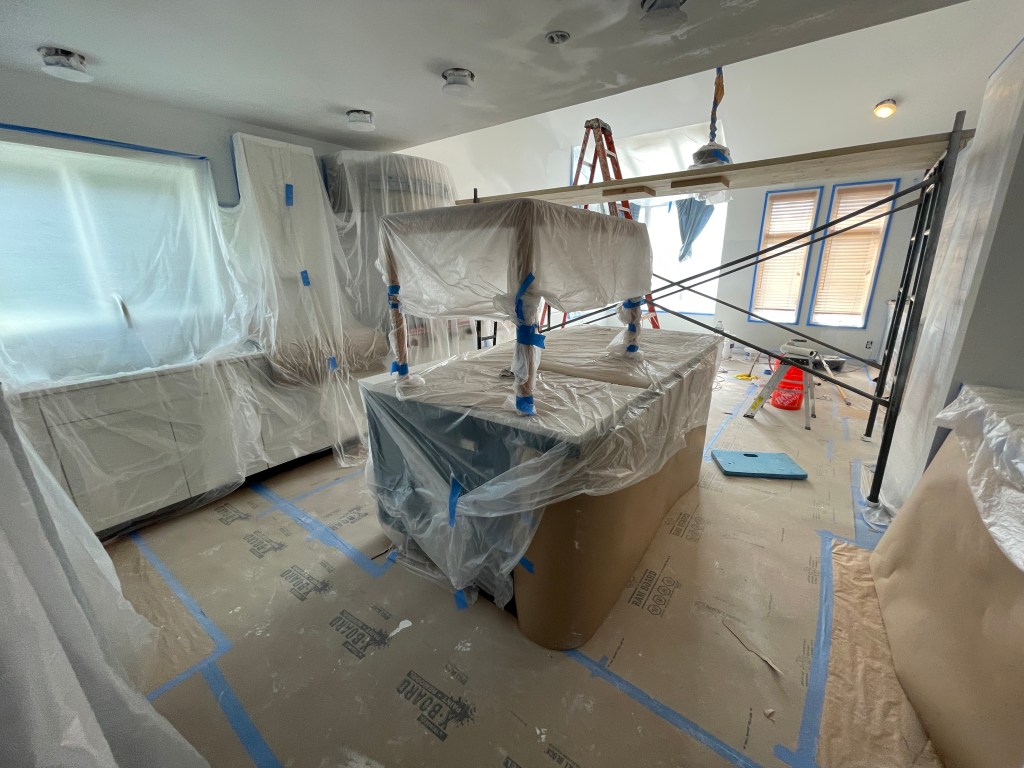
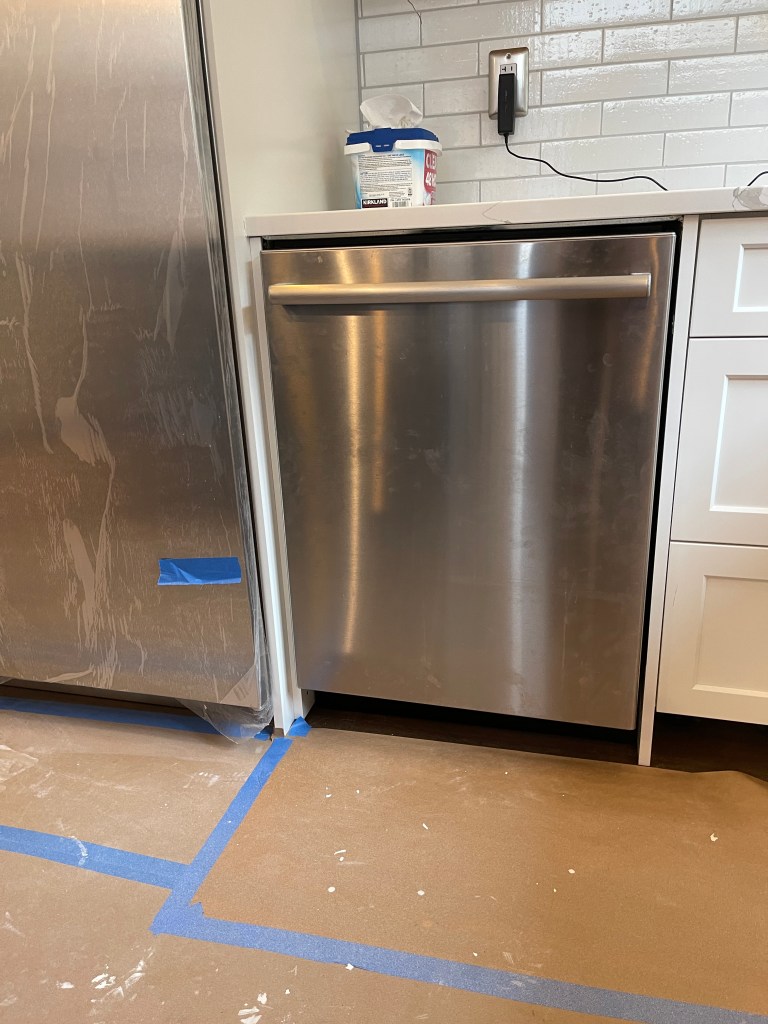
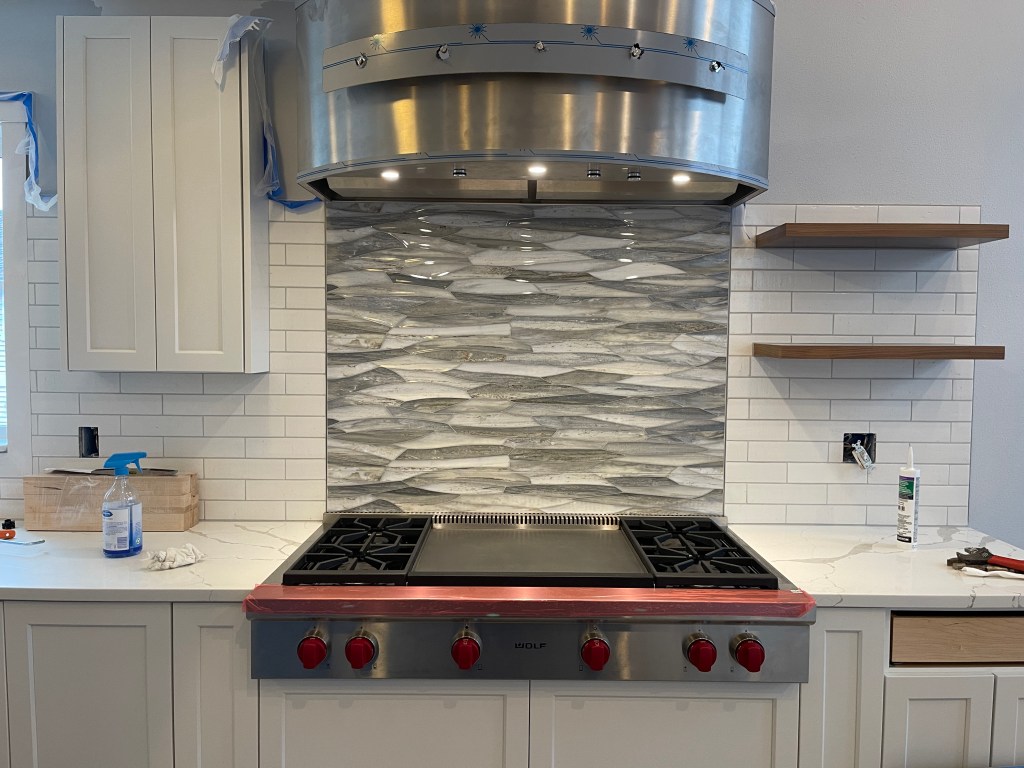
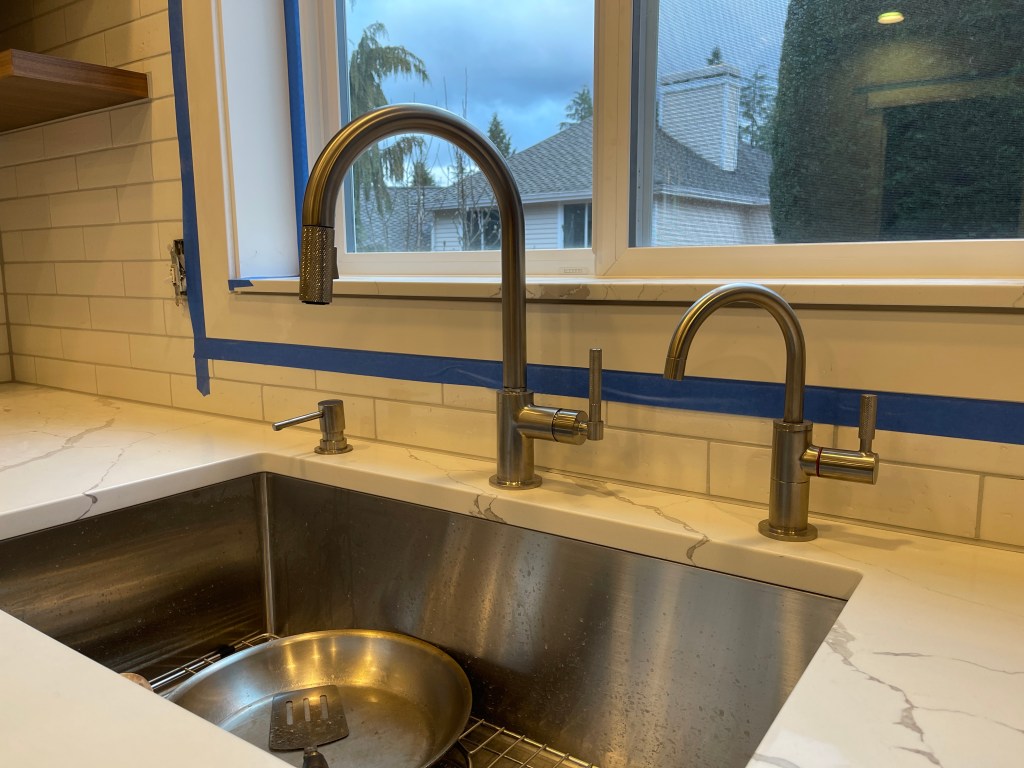
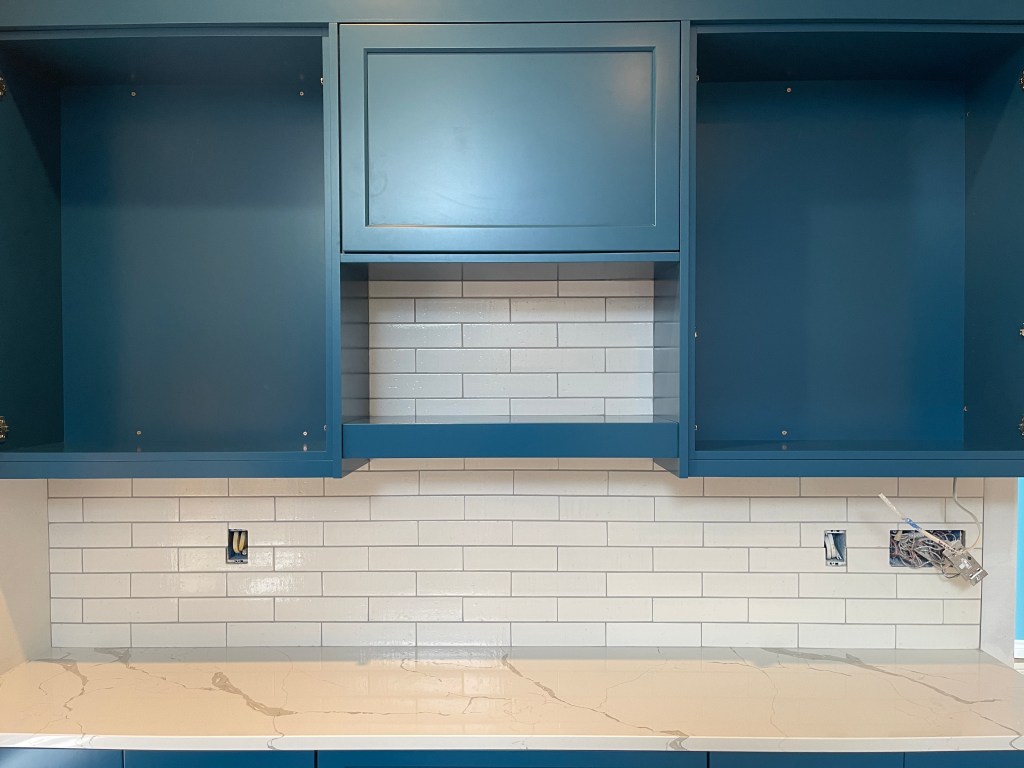
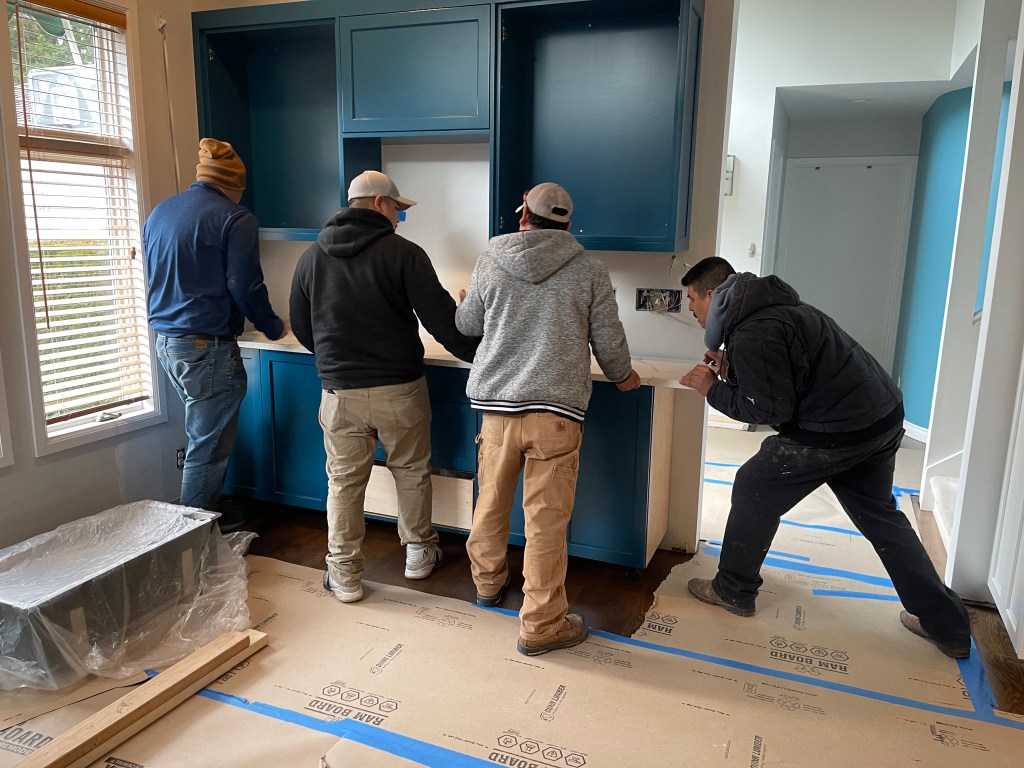
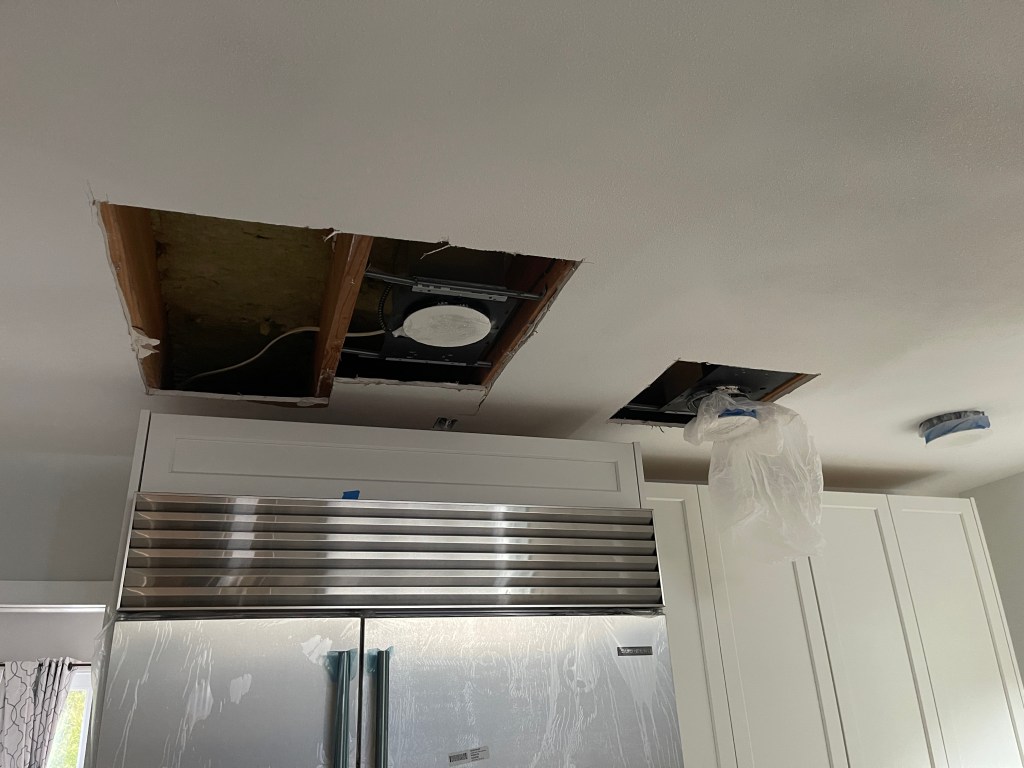
Now that the floor is complete and all those bits are back together, we have started moving things back into the kitchen. Slowly, of course, since we have had so many boxes in so many places throughout the house, garage, and back shed.
Laura is working to get all of the drawers and shelves protected with liners before we load them up with dishes, pots, and pans. I think she’s more than half-way done, maybe even close to finished!
Some of the drawers and cabinets have things in them, which has made us stop using the temporary kitchen (which is now back to being the gym) and the utility room sink.
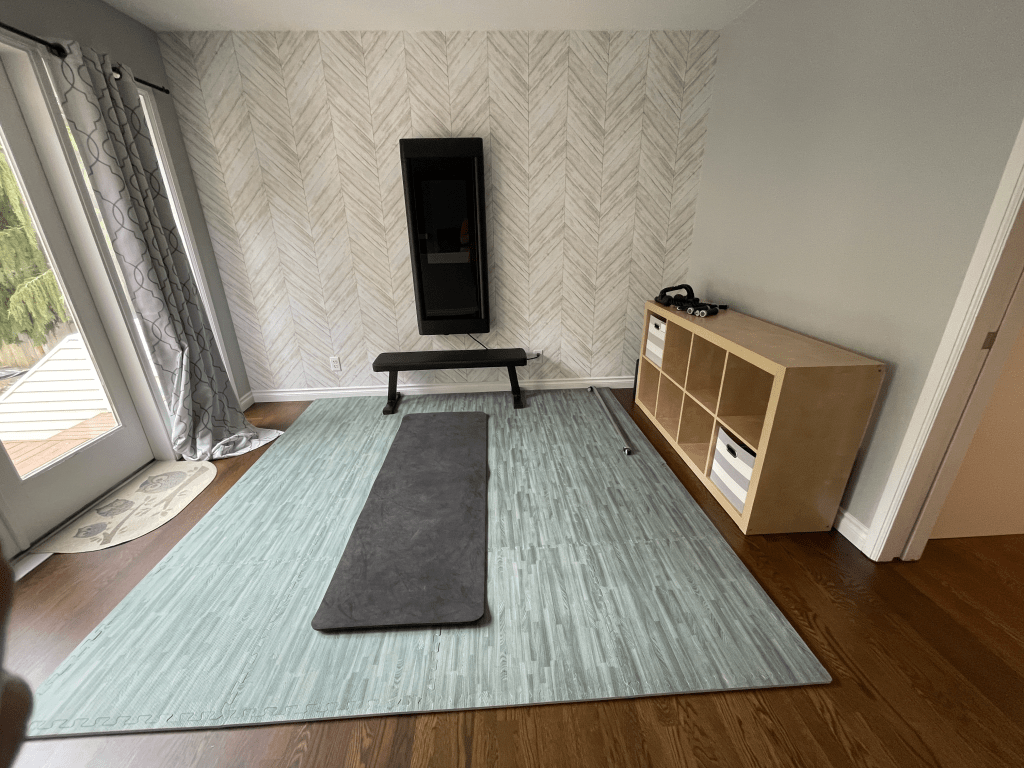
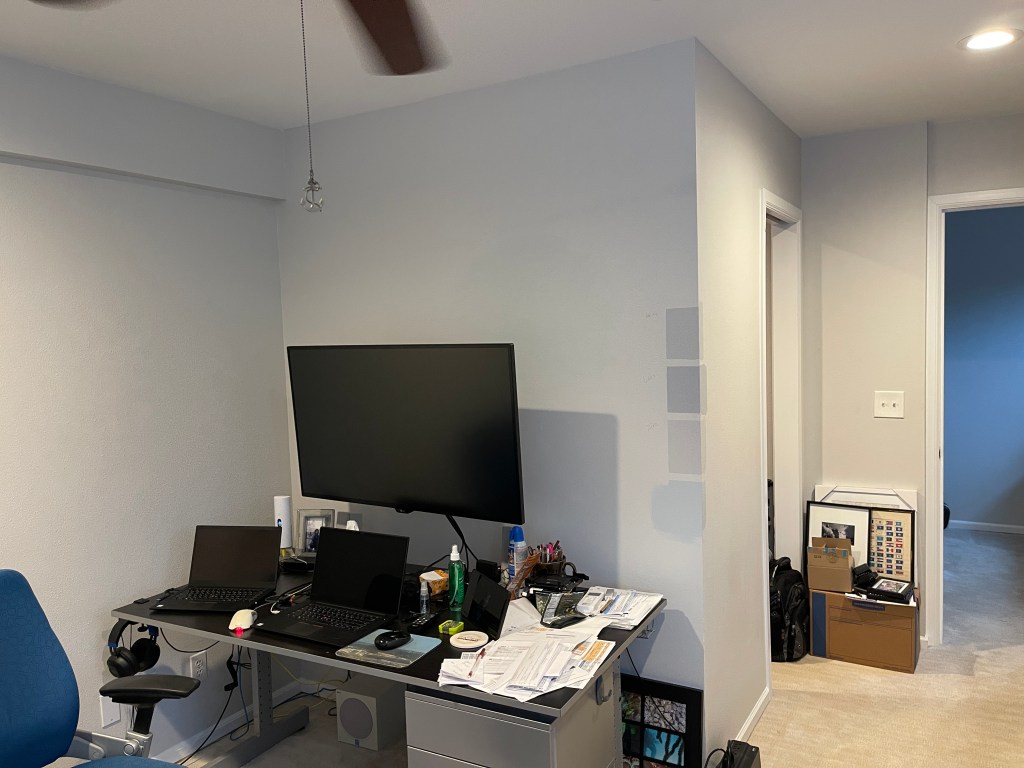
The gym equipment and cushioned floor back in place. Now I have no excuse!
With this last bit, all of the “professional” work is now complete. It’s all down to re-assembly now.
It might be a bit before we get that all done right, but we’re working on it.