This post should really be right after the Part 1 overview of our kitchen progress as it came about sometime while we were uncertain of the timing of when we could actually finish the kitchen.
So, while waiting and deciding the direction of the kitchen, we got impatient. We did several other projects including the master bedroom, replaced a few closets, some back yard work, and of course: my office.
I’d grabbed the room right at the top of the stairs for my home office: it was originally a bedroom, but for some reason had a French door installed. Maybe the previous owner thought it should be an office, but it had carpet and a closet just like a bedroom. It is separate from the other upstairs bedrooms – off to one side and apart from all the others, and the glass paned door made it perfect to modify for a home office.
At the time we moved in, the job I had did not allow me to work from home, so it wasn’t used every day: it was just where I set up my computers.
Then came the pandemic and forced “work from home”. Now, working from home is something that I had planned to make a part of my next job, whatever that would be, so I embraced the home office. Even my new job was mostly work from home.
This meant the office needed to be brought up to snuff as a real workable space.

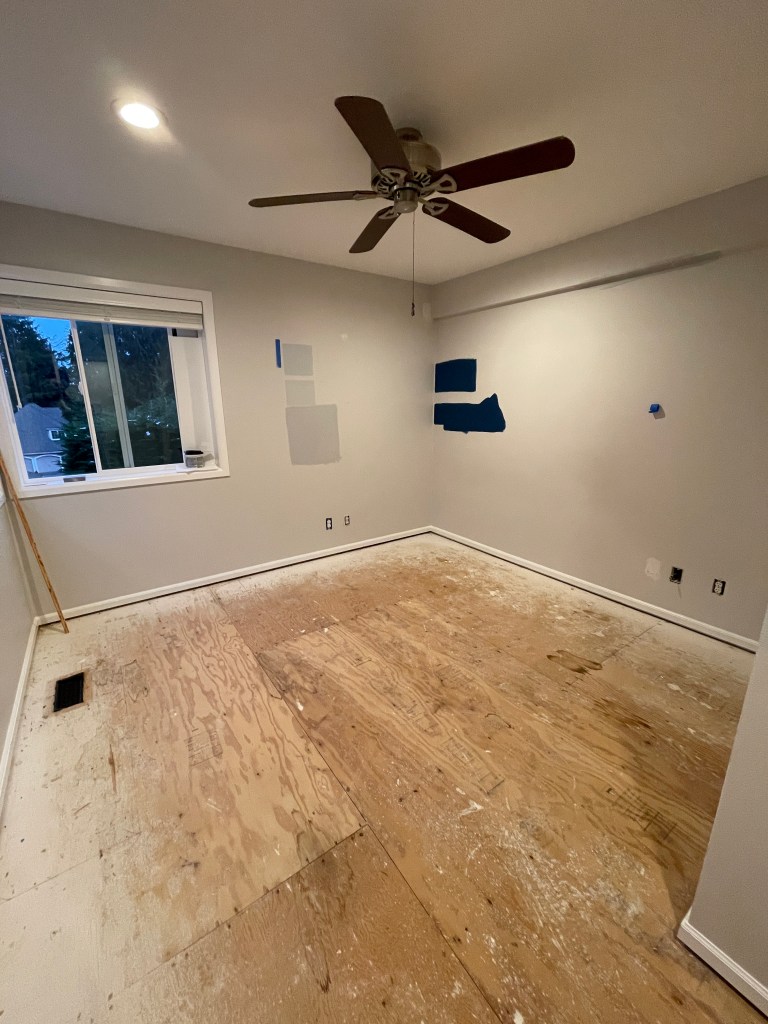
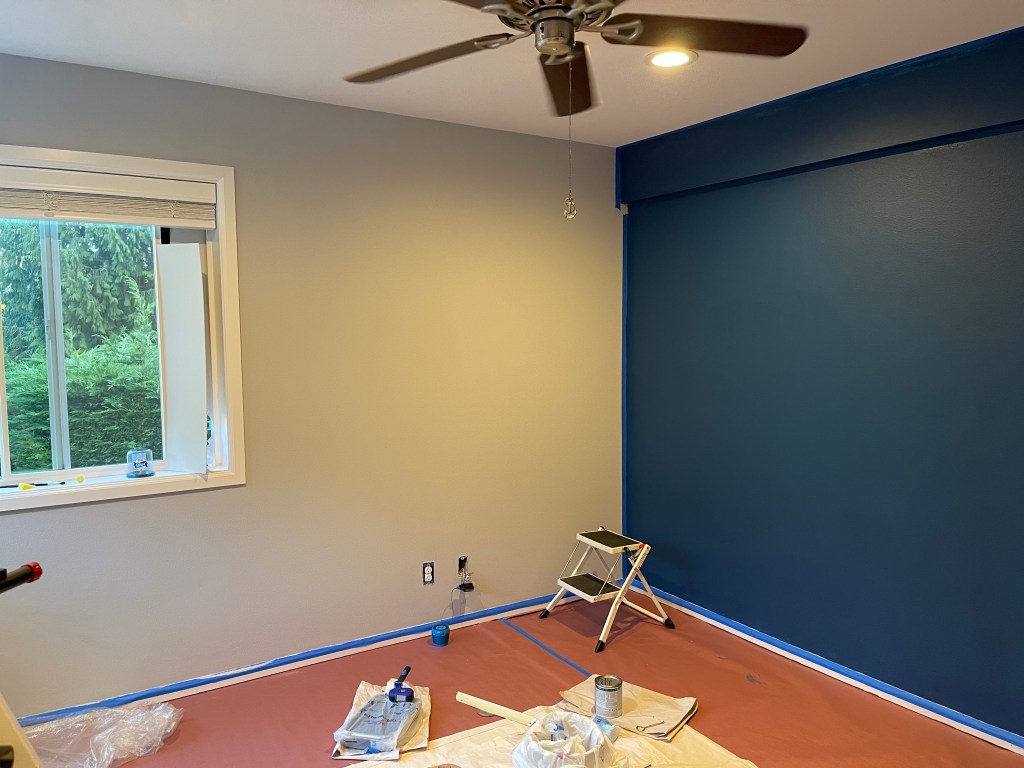
Before any changes
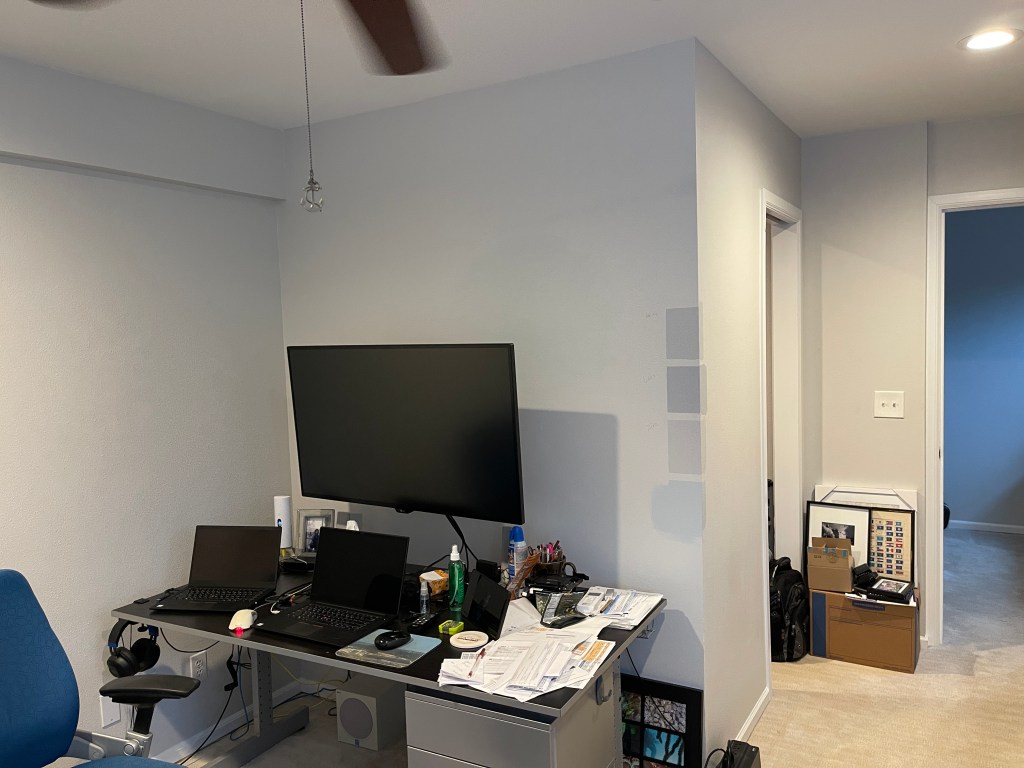
The actual work space.
The first thing I wanted was to be able to roll my chair back and forth on my floor without getting stuck in carpet pad ruts. The padding was so thick, that my chair wheels would not roll out of the depressions easily. That meant a new floor. So, we went shopping for flooring and eventually decided on an engineered hardwood floor made of acacia wood.
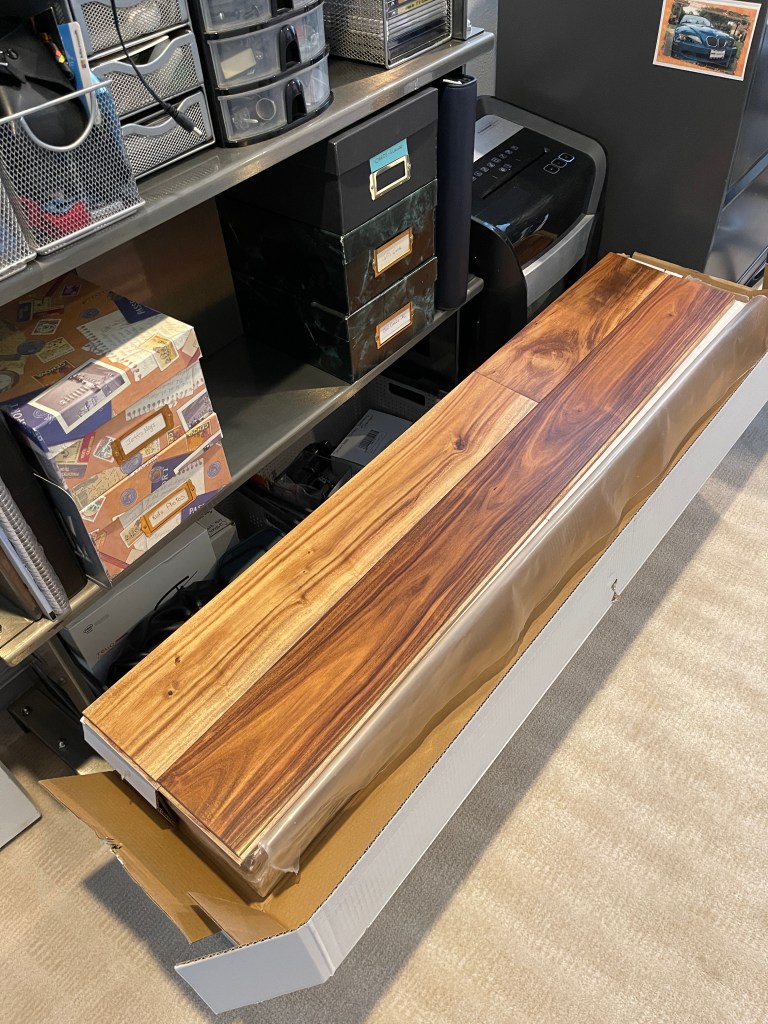
We brought the wood in to acclimate.
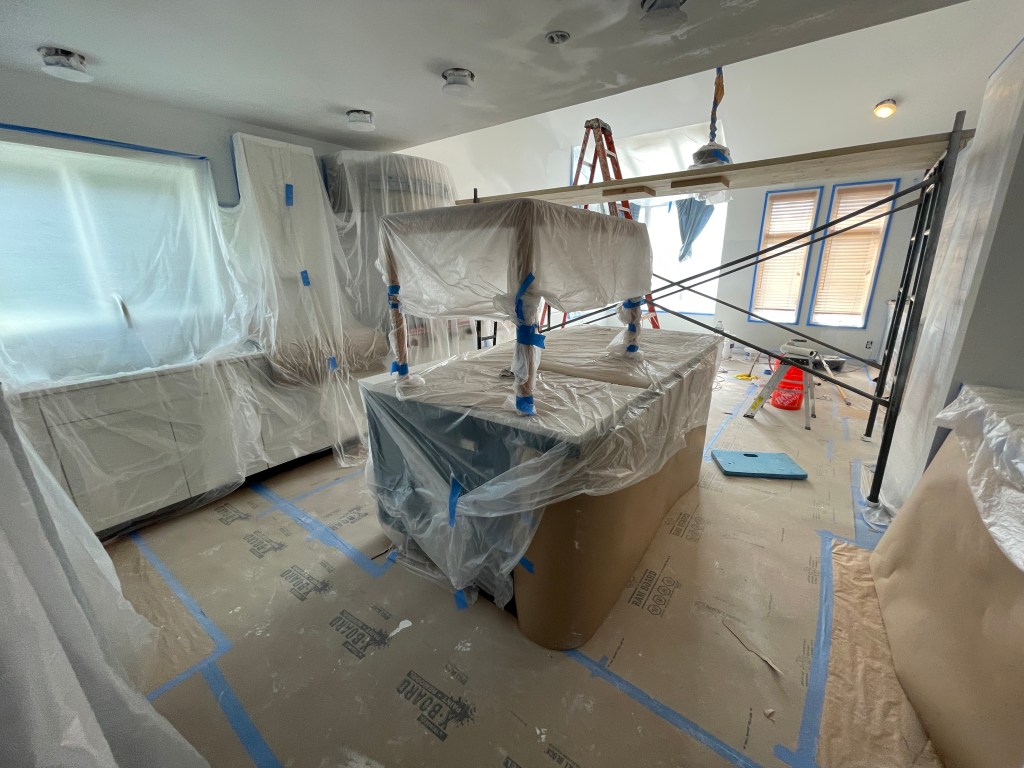
Once that decision was made, we contacted our floor guy who helped us with the master bedroom to do the install. That meant removing everything:
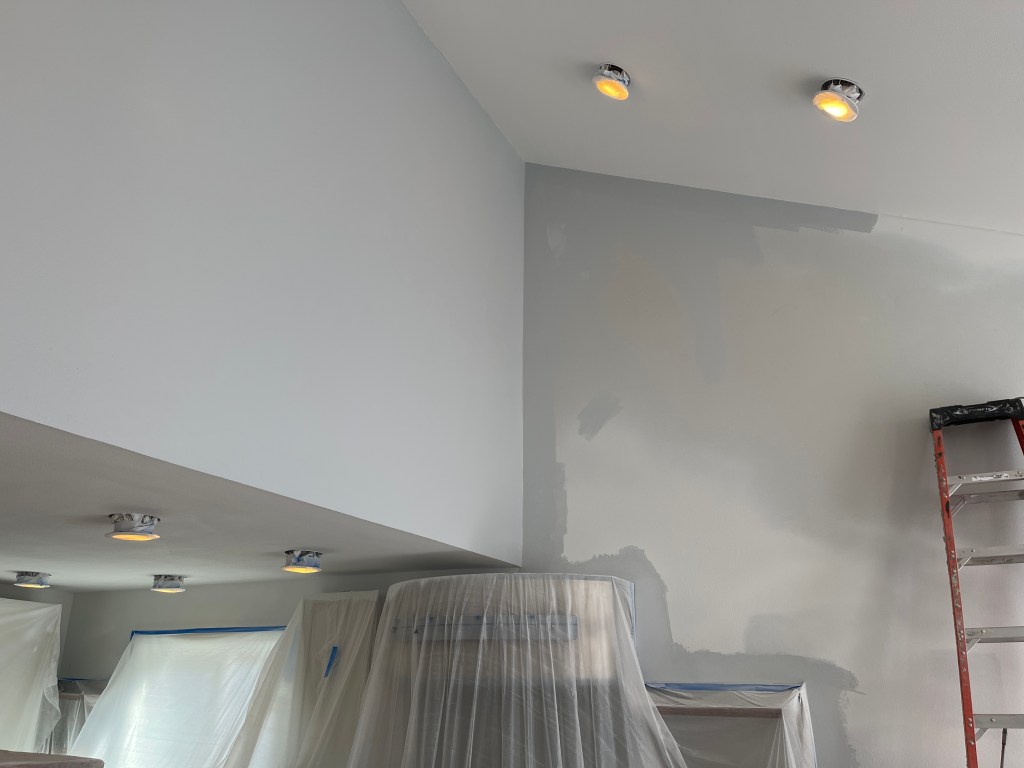
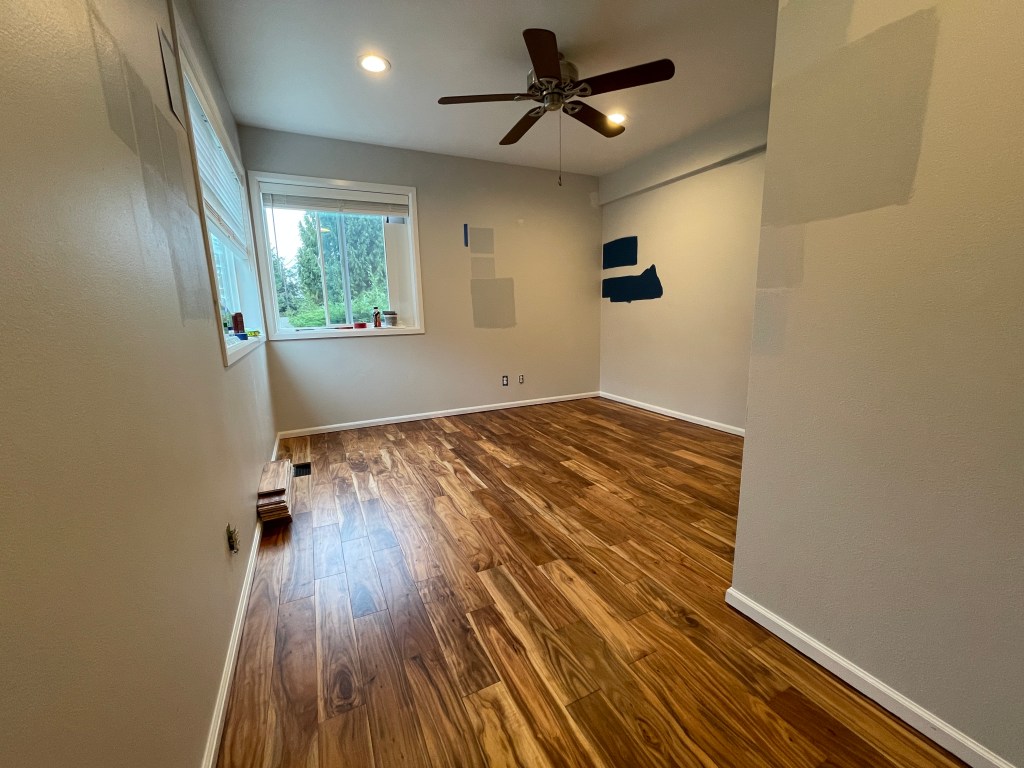
Of course, any change in the room meant painting the walls also. You can see some of the samples going up.

This was beginning to look beautiful.
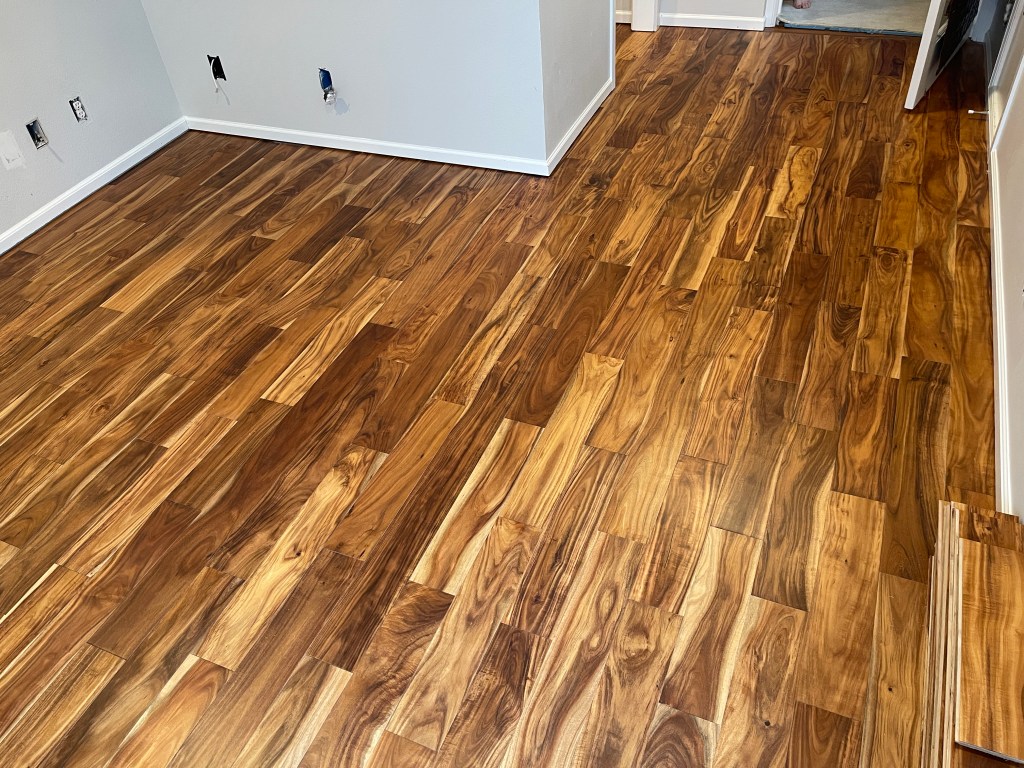
Floor install complete
Ready for the next steps.
Once the floor was in, painting could begin.

Dark colors take many coats.

Lots of coats.
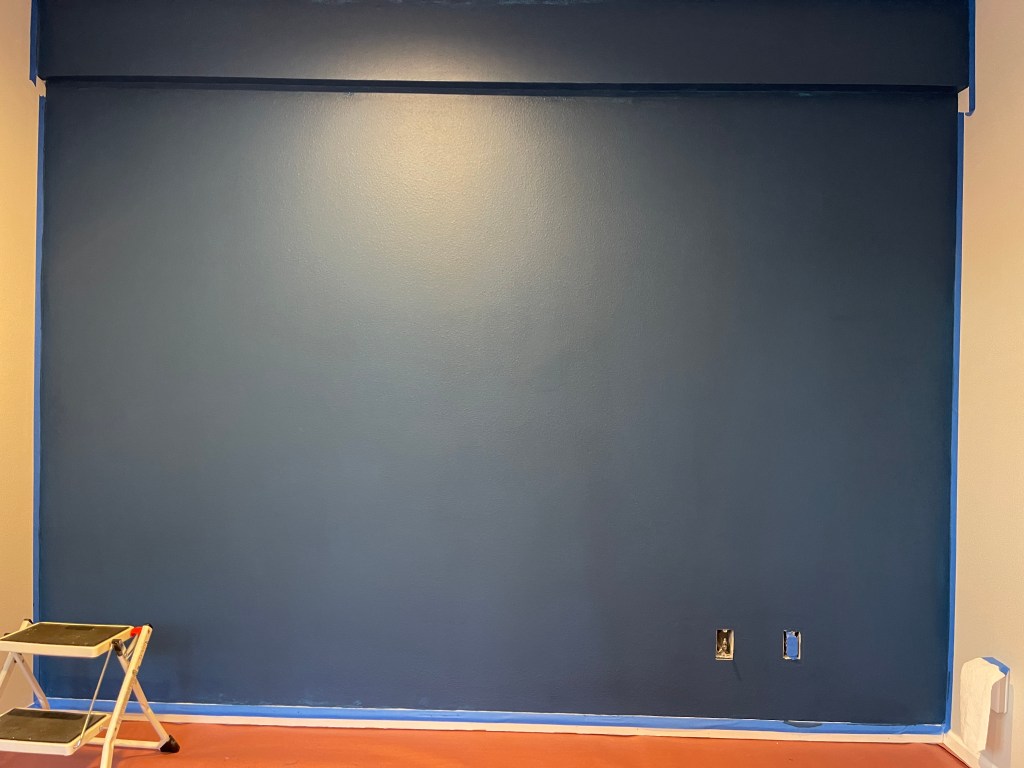
Finally.
We painted the rest of the walls a cool gray to go with the blue.
Once the painting was done, we could move on to the finishing touch: a removable wallpaper. We chose the wallpaper first, matching the color tones from it for the walls. Installing it would be a challenge: but one we were up for!
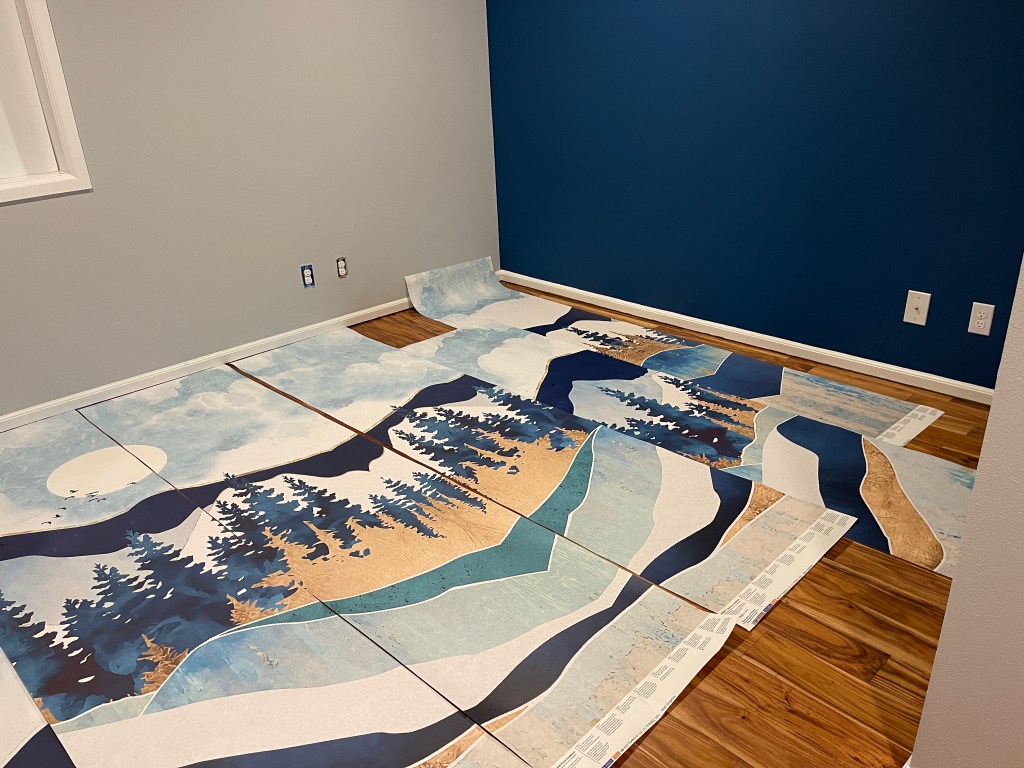
Laying it out on the floor, we noticed the sun would be obscured by the window – and we didn’t like that.
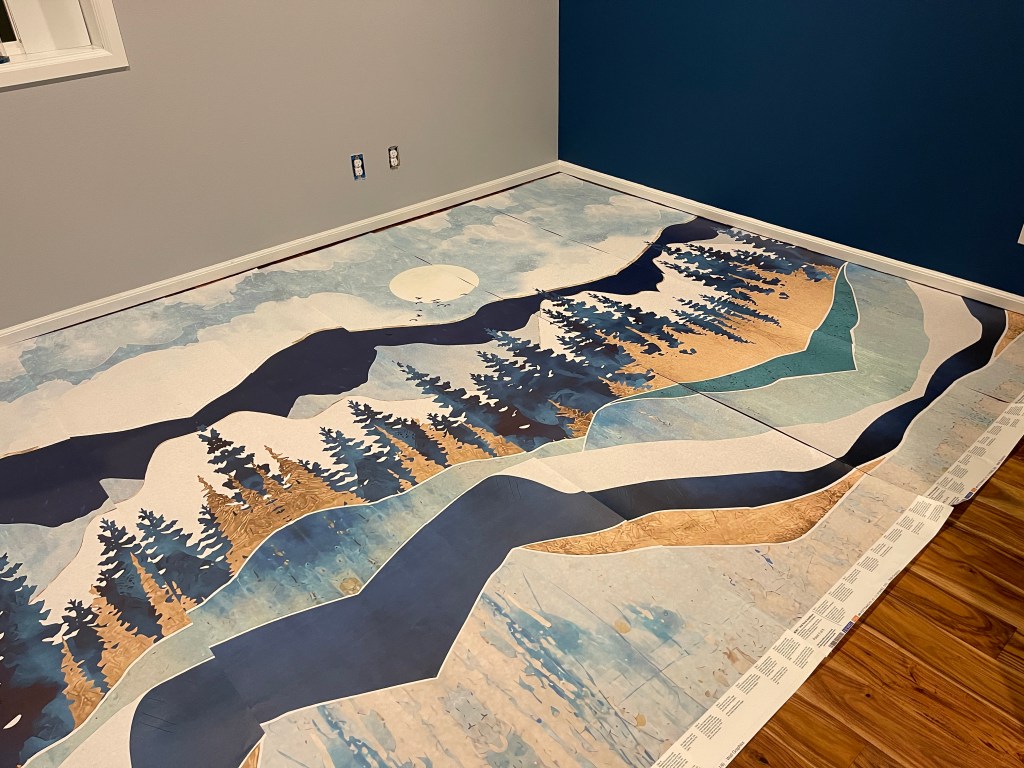
However, I noticed that at some points, the design was made in such a way that we could move the panels around and they would still be aligned with each other. We moved the sun over.
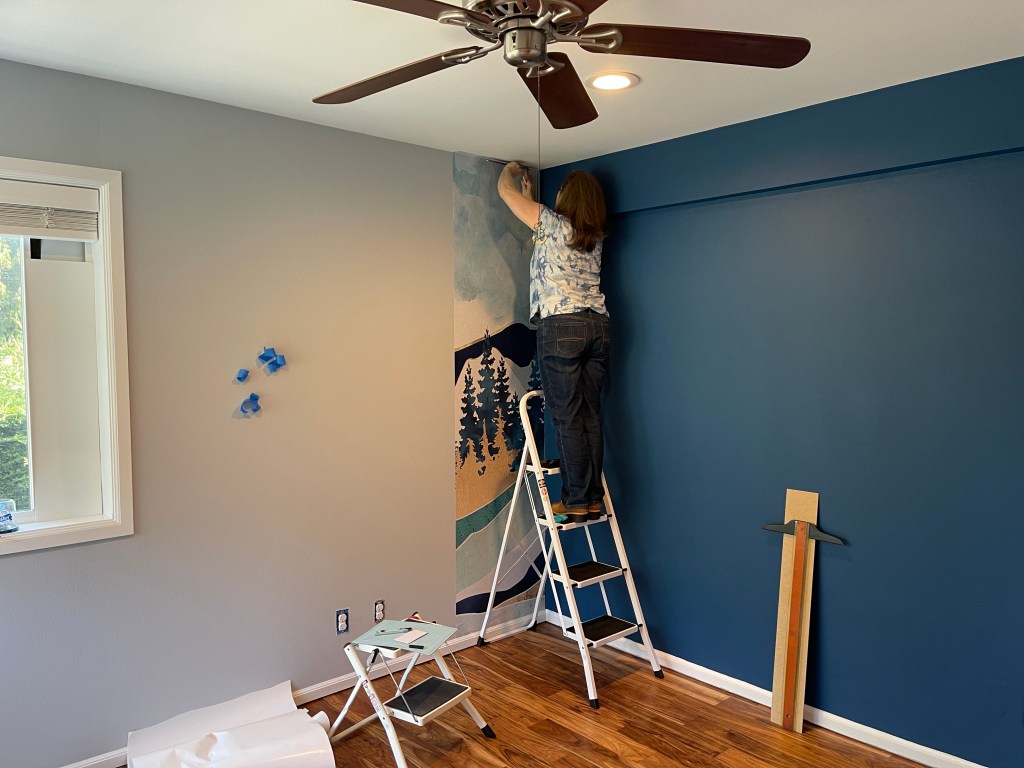
Laura is very good with the detail work, and I’m good with the larger things. I hung the panel, while she lined it up and did the fine cut-in work at the edges.
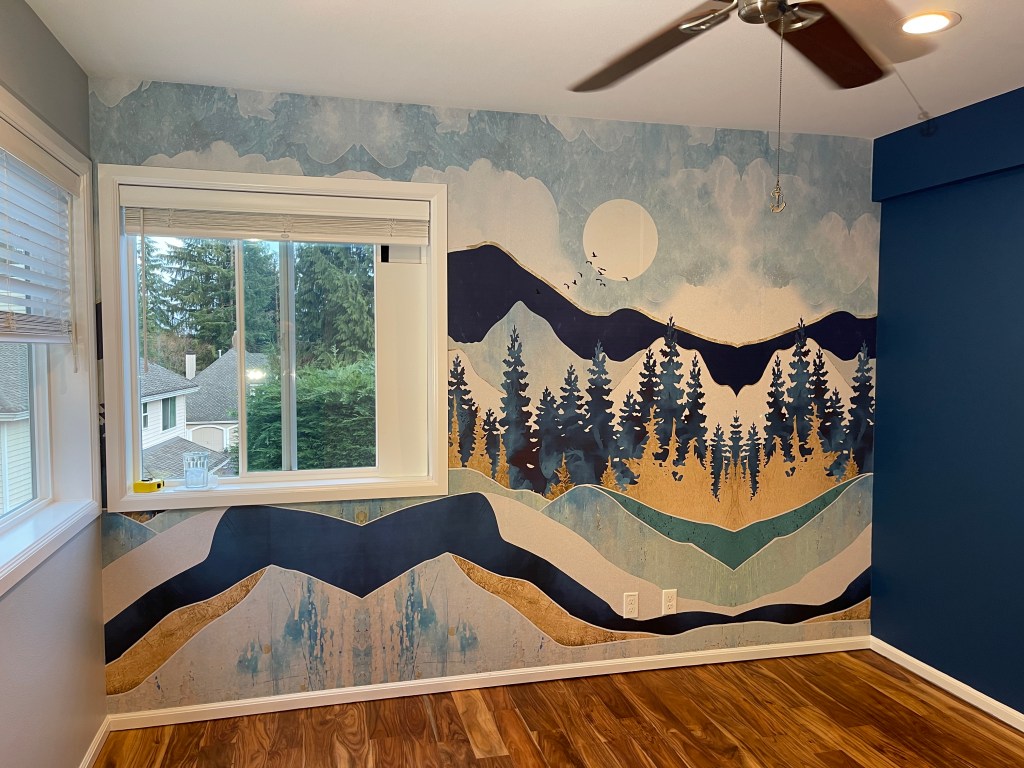
Going around the window was especially difficult, but we managed it.

A final empty room wide shot of the finished project.
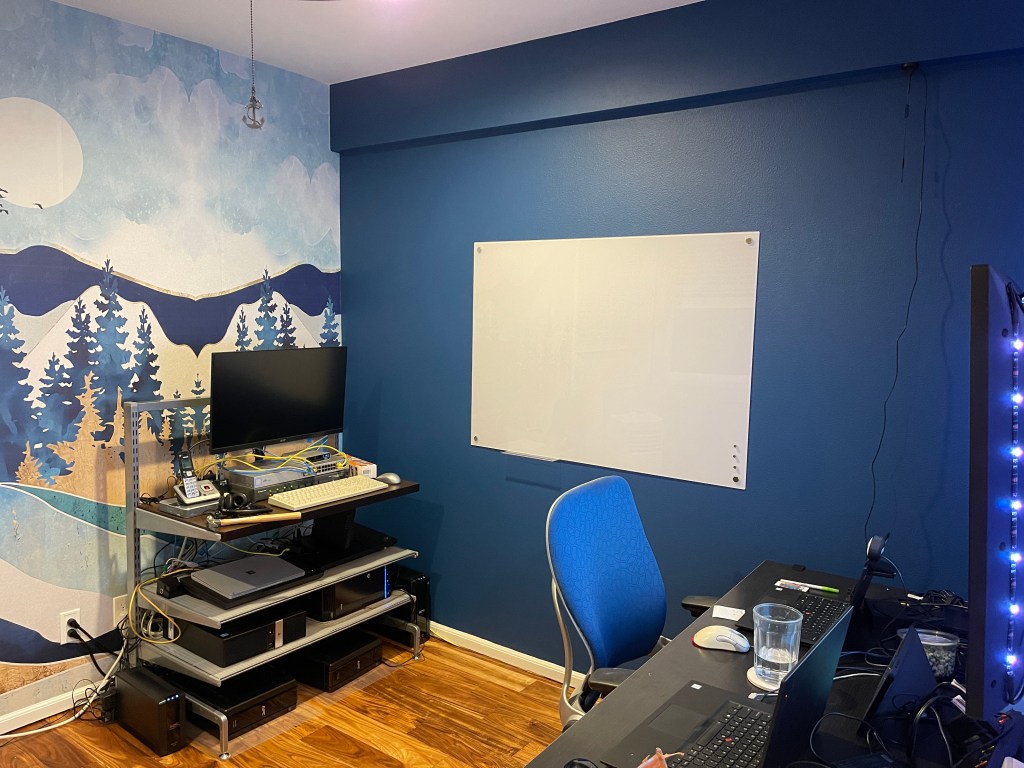
Putting my equipment back in, and adding a whiteboard made this feel like a real office.
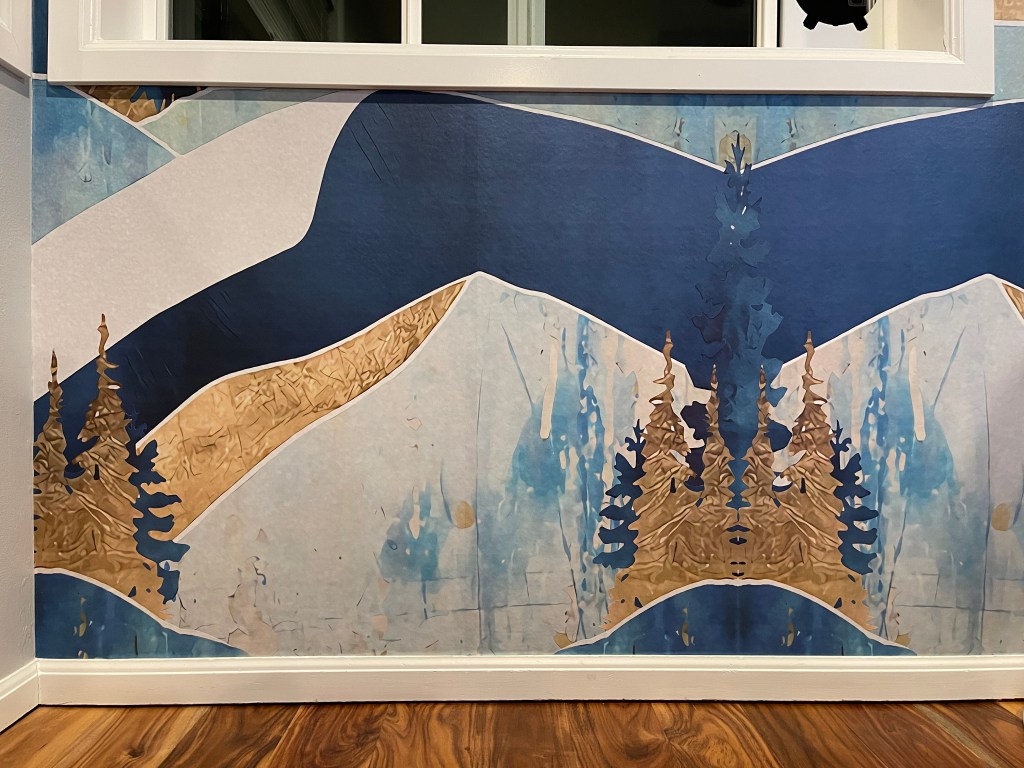
Since we had some leftover pieces from the window area, Laura decided to add some trees to a blank area.

Bonus room: since the closet was empty for the new flooring, we decided to paint it also, but using a custom designed (by me) geometric pattern getting its theme from the wallpaper.

Finished project.
Now, everything is moved back in and I’m using the office almost every day.
This was a very worthwhile project and investment.