
What in tarnation is an “underskin” you ask? I know I had to.
As our cabinet maker is very custom and everything is created to order, the pieces for trimming them out also need to be cut to size on installation. None of those “flat pack” or pre-fab boxes for us, these were all made to exact specifications. This doesn’t include the trim pieces, though. Those pieces like crown molding, side panels, etc. had to be scribed to the walls to fit exactly. Especially since sheetrock walls are never actually flat – they only appear to be.
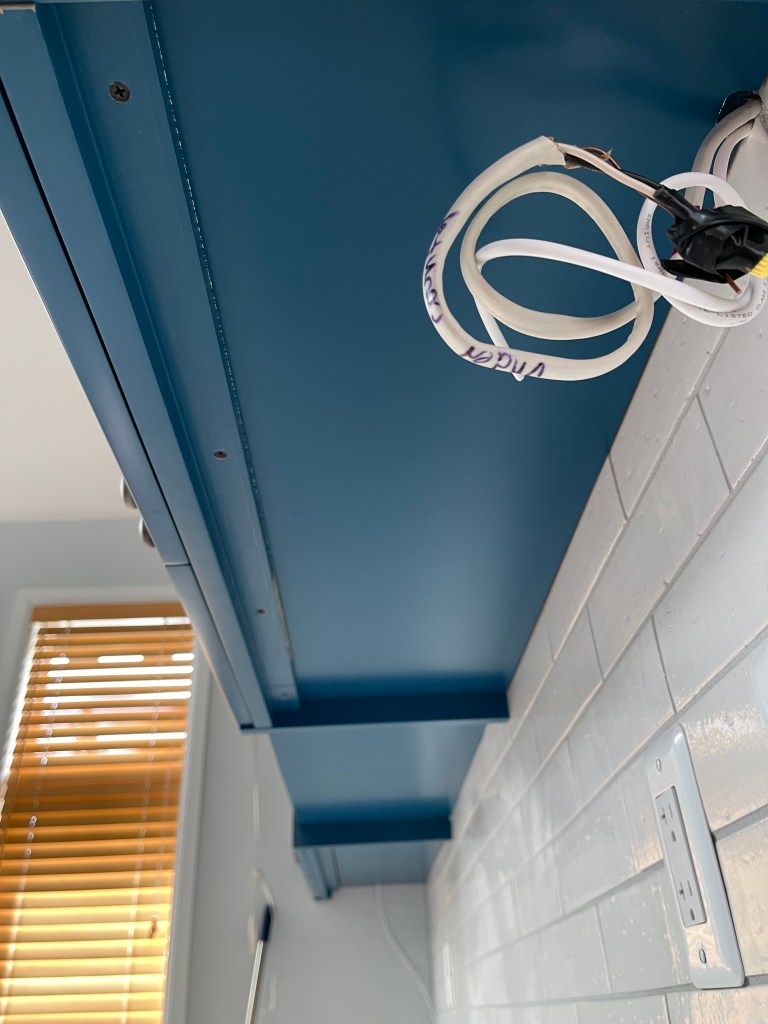
One of those pieces that needs to be customized before installation is called an “underskin”. This piece covers the potentially unfinished bottom side of the upper cabinet boxes so that they appear finished as well, and can cover the seams between the boxes.
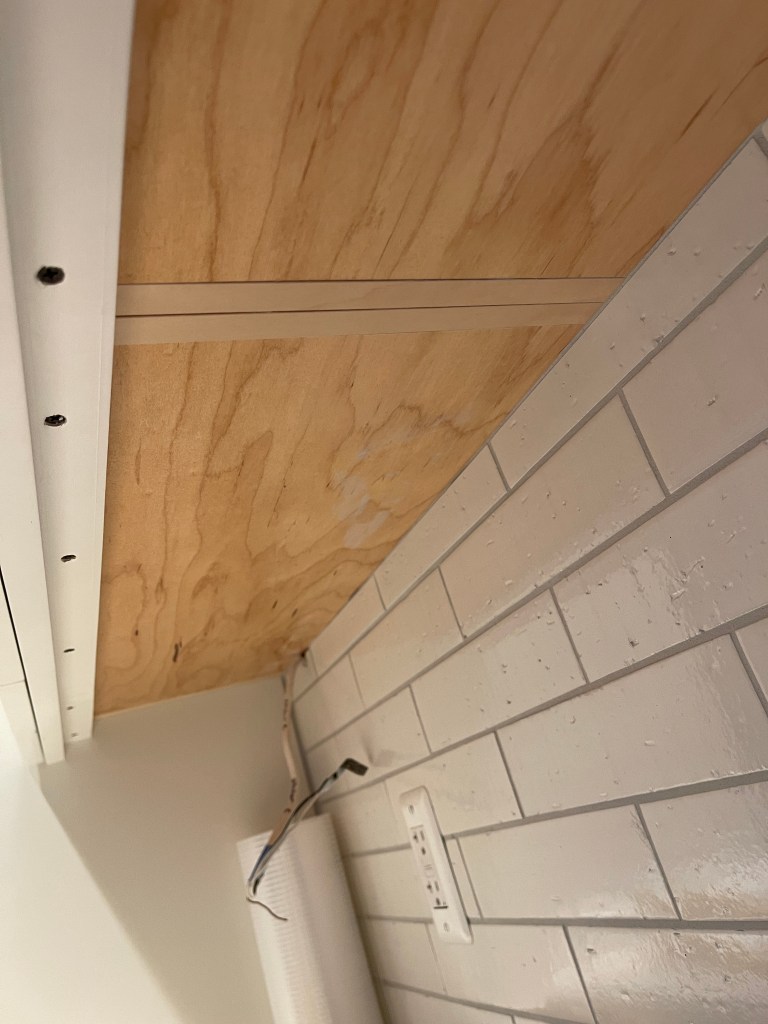
Here is an example of the unfinished underside of the cabinets. Note the seam in the middle. There are also gaps at each end.
These underskins must be in place before the undercabinet lighting can be installed. Since I didn’t want to add any more expense to remodel cost, I decided to do this myself (as well as the lights, but that’s later).
Each underskin was 1/4″ thick, 12″ wide and several feet long. To cut them to size, I needed a table saw. Fortunately, Laura found a used one for us to purchase from someone else in the area.
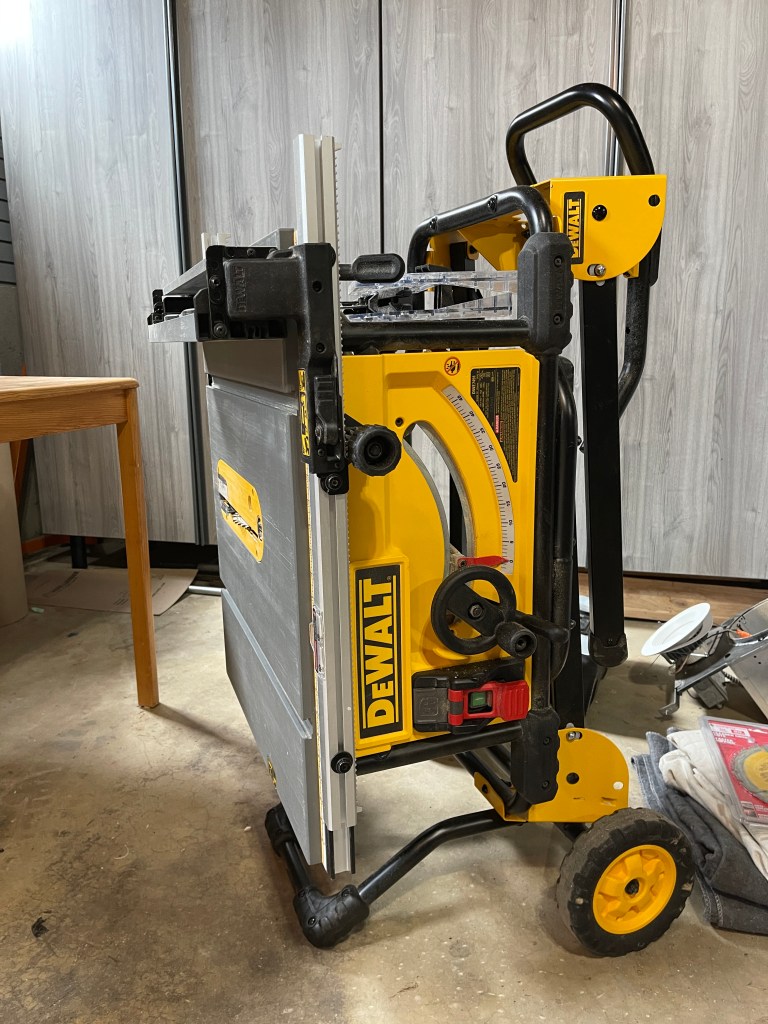
This is the portable table saw folded up for storage. It was quite useful and easy to put away.
Once we cut the pieces all to size, we brought them inside to fit into place. (Yes, we did several test fittings before permanently attaching them.) Instead of using screws, which I thought about at first, we decided to use some construction adhesive to attach the skins. Partly to avoid visible screws, and partly because the undercabinet lights would use screws to hold up at least one side of the material.
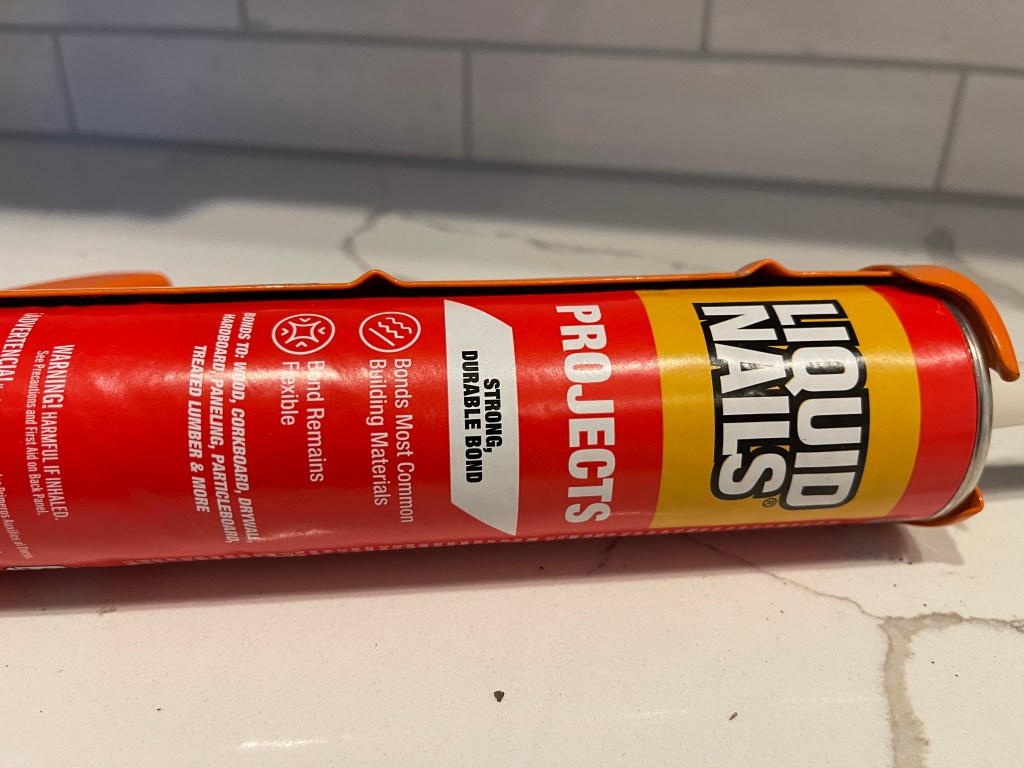
This stuff is sticky, and we used almost the whole tube.

Here is the first one we stuck up in our spice cabinet. The boards we used to hold the skin up until the glue cured (24 hours or so).
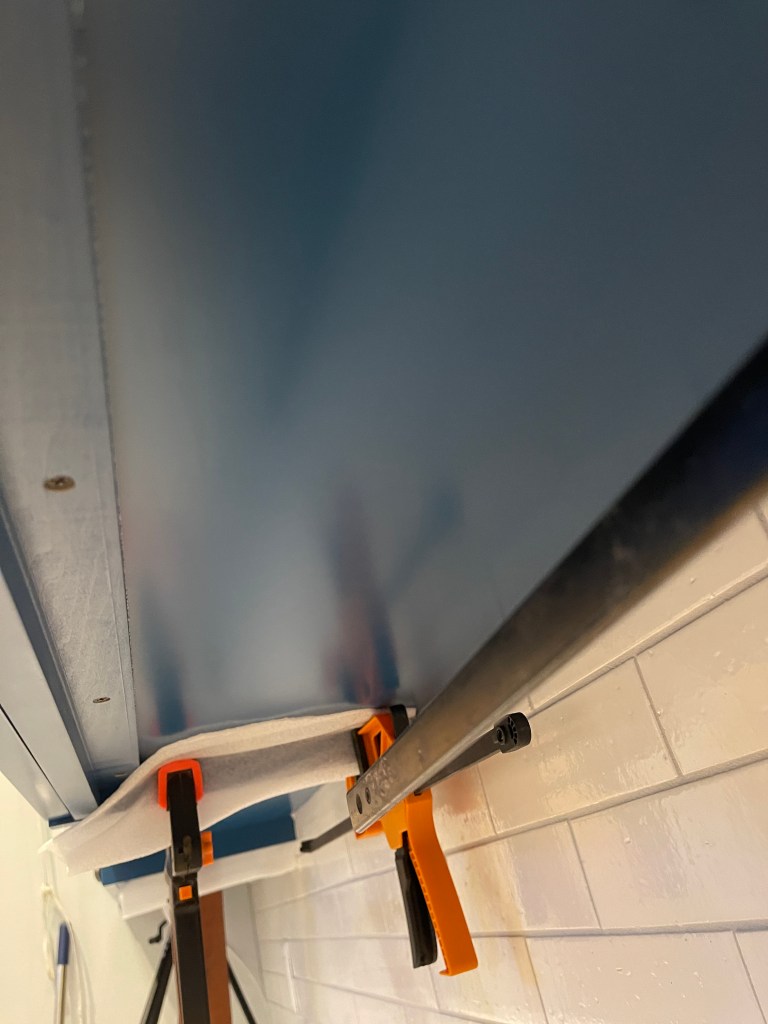
We used some clamps on the ends to keep the some from falling.
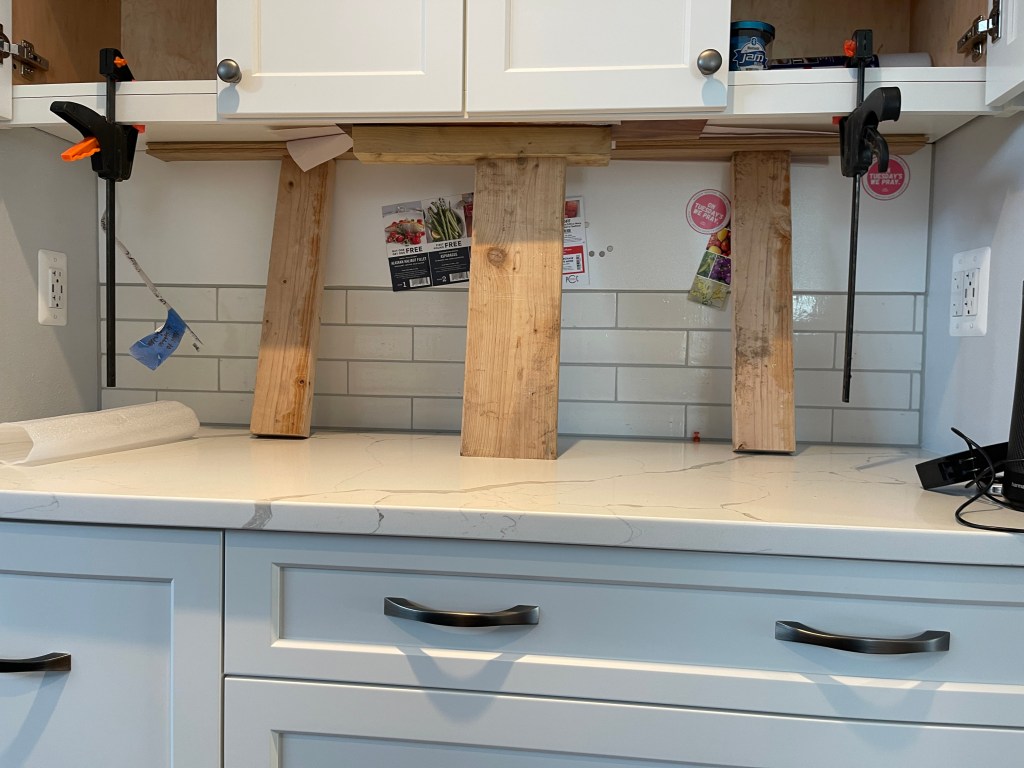
And a combination of both for the larger sections.
Here is one section completed and ready for undercabinet lights.
The only downside to this project was that I inhaled a ton of sawdust cutting the boards to the right size. This led to a full blown “sinus event” in which I couldn’t breath properly for over a week.
I will be wearing a mask next time I cut that much wood.
