
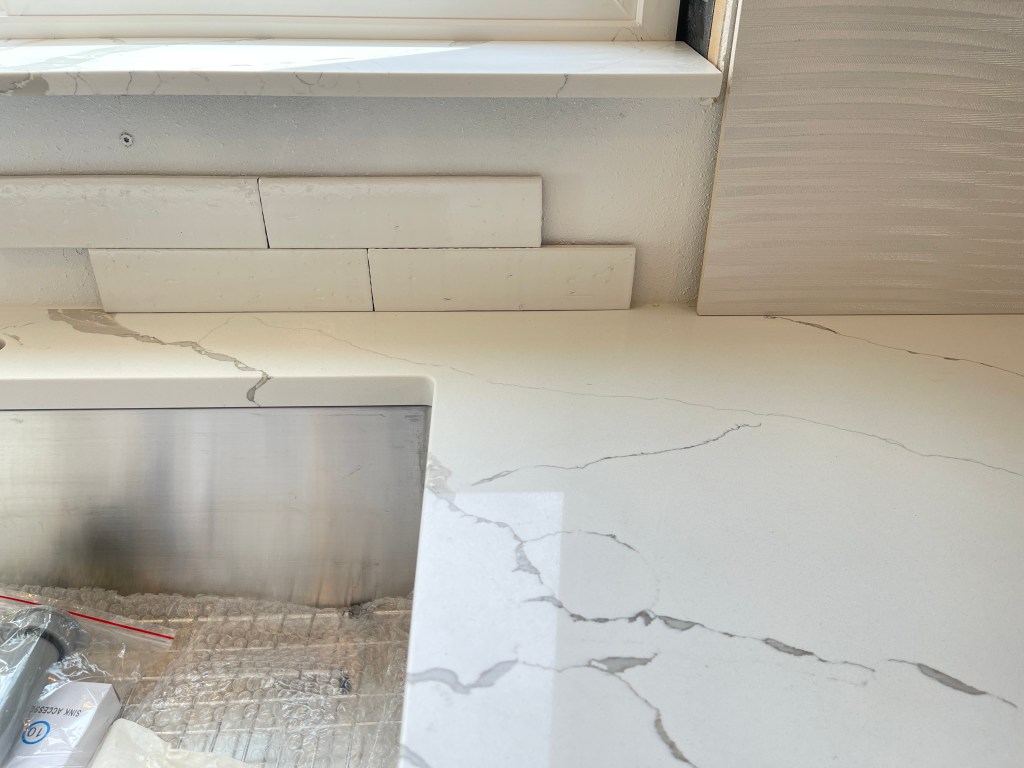
Now that the counters are installed, it is time for the tile to go in. So, the next day after the stone is delivered and installed, we bring out our samples of our chosen tile and lean them up against the wall on the new counters…
And it doesn’t look good. The tile we initially chose was a white, large size, textured tile for the main part of the kitchen, and a rustic white brick for the buffet area. We set them on the counter to see how it would look.
The brick tile looked great, but the large tile: well, it looks washed out and gray. Not at all what we had in mind.

Notice how it just looks gray and dark?
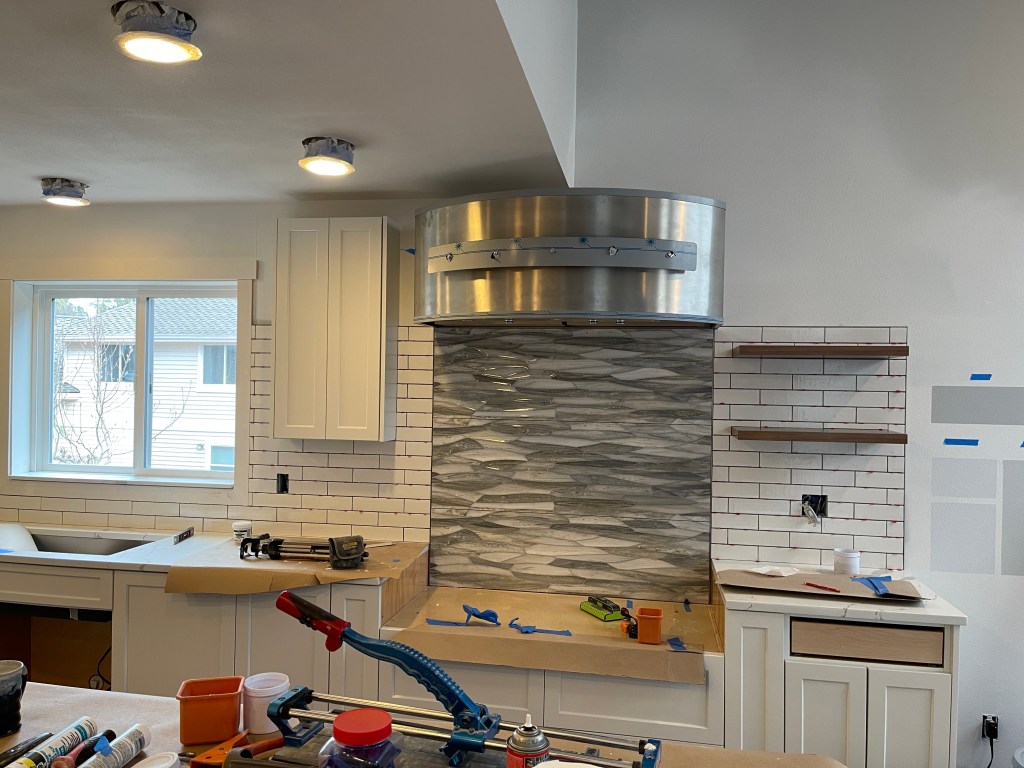
This was unfortunate since we loved the nice texture and “waves” it had which would match the movement of the range section “centerpiece” tile (see above picture on the right side). But the feature we loved about it, the texture, caused shadows and darkness that we didn’t think looked good at all.
Here it is next to our brick tile and you can even see that not only is it too dark, but it almost looks pink in tone.
So, we panicked for a bit. Just a little.
Eventually, after much discussion and a few samples later, we decided to just do brick everywhere. It’s not quite what we wanted, but it does add a little “organic” texture to the modern kitchen – and the color is a lot better. We ended up deciding on a light gray grout to minimize the seams, but not eliminate them with white.

First section of tile going up.
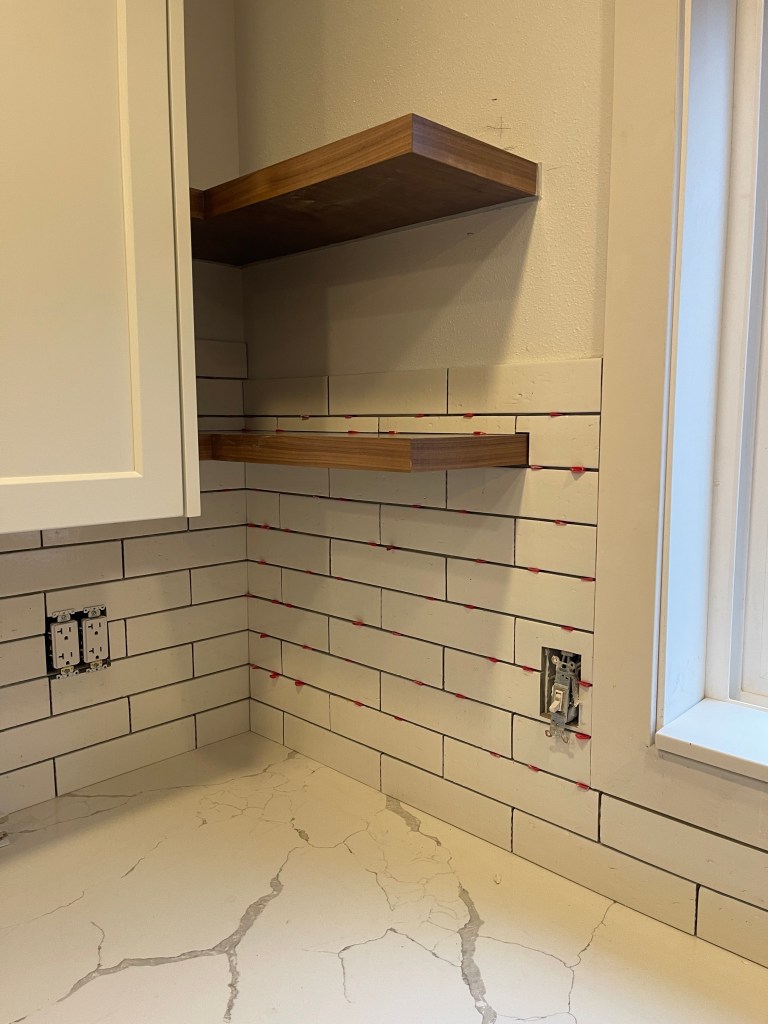
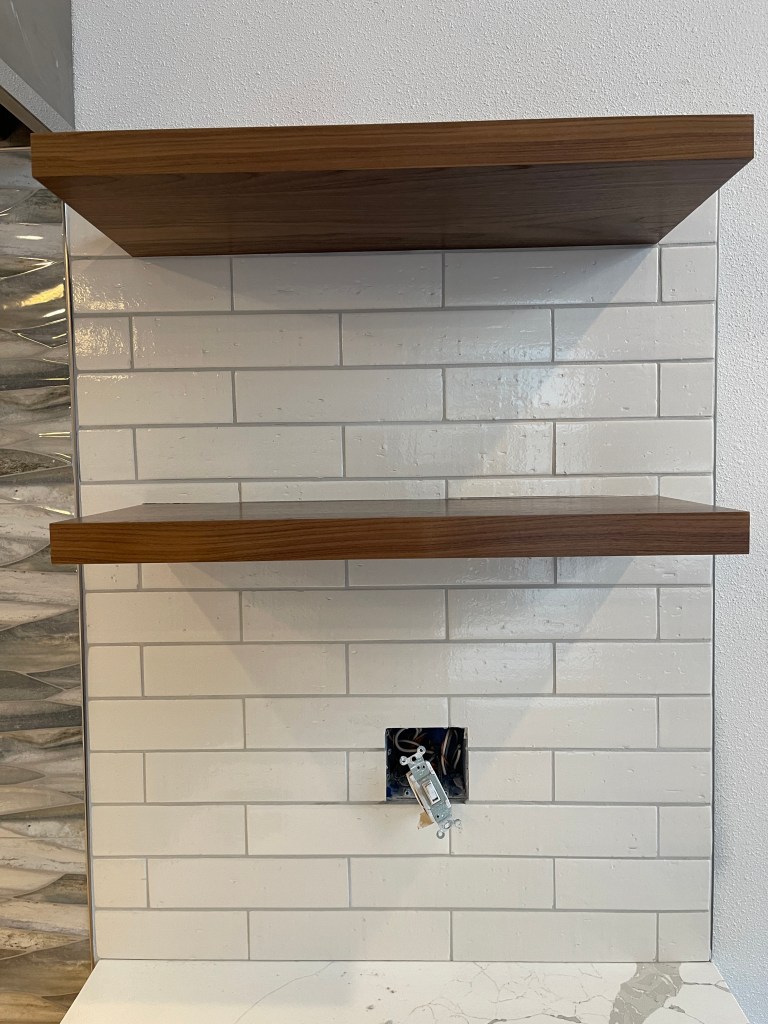
As the tile was going up, we had to make several adjustments to tiles along the way since the side are a little uneven – the organic nature of the material made it a little sloppy, so we adjusted where we could behind the tiler. Along with the tile, though, we installed floating shelves. When I say “we”, I mean our installer of course. On the last one, though, there was a problem with the mounting that we didn’t see until he left- so we spent a few hours correcting it. That was hard, and we woke our neighbors with the hammering late at night. (Sorry, neighbors!)
The end result looks great!

Our centerpiece tile in the area behind where the rangetop will go.
Left side of floating shelves installed.

The window trim also went up on tiling day. Well, tiling “week” as it took a whole week for it to get done.
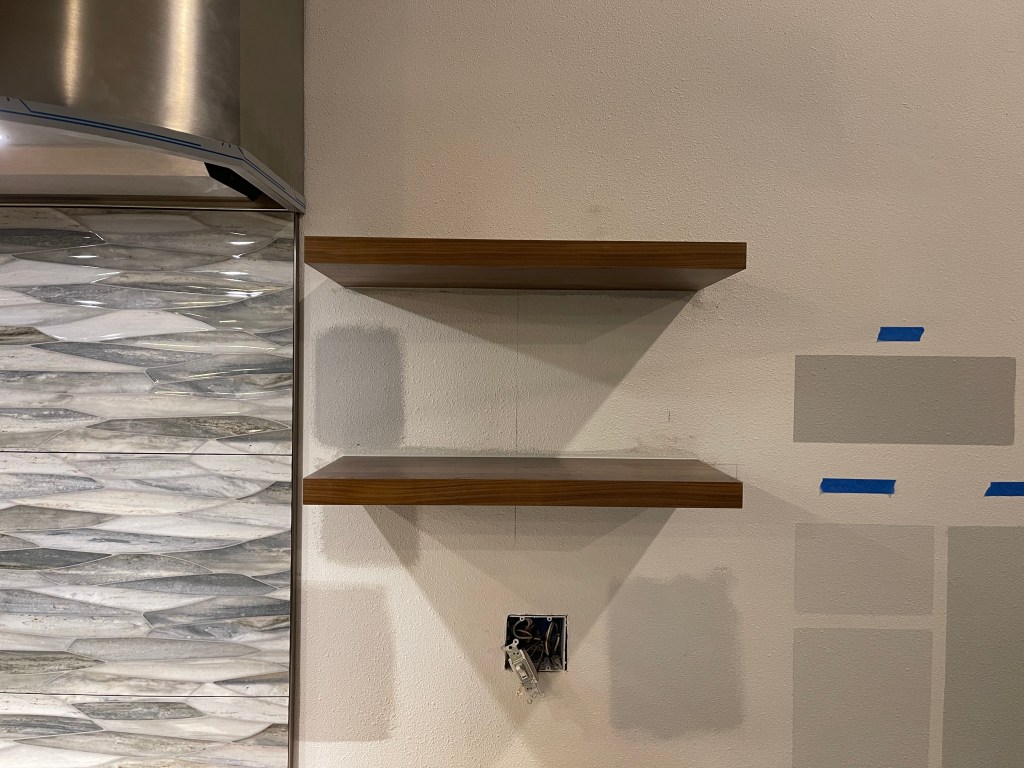
Pre-tile floating shelves on the right.
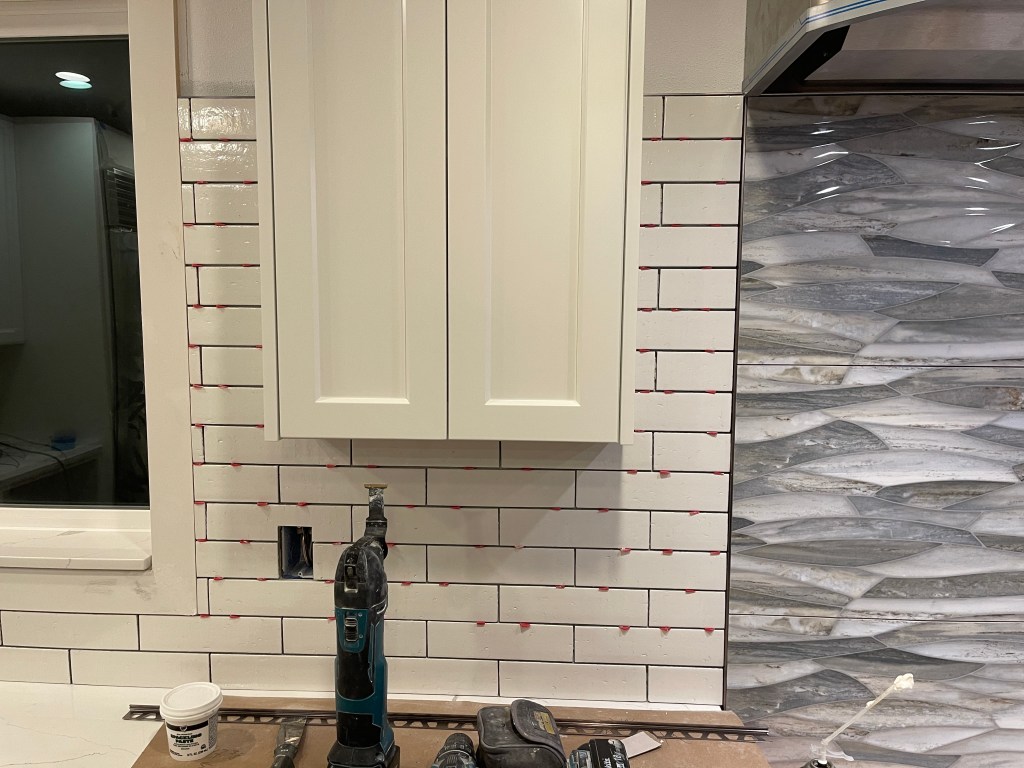
Tile around the spice cabinet.
Main wall before grout.
Grouted section – nice light gray which matches the veins in the countertop.
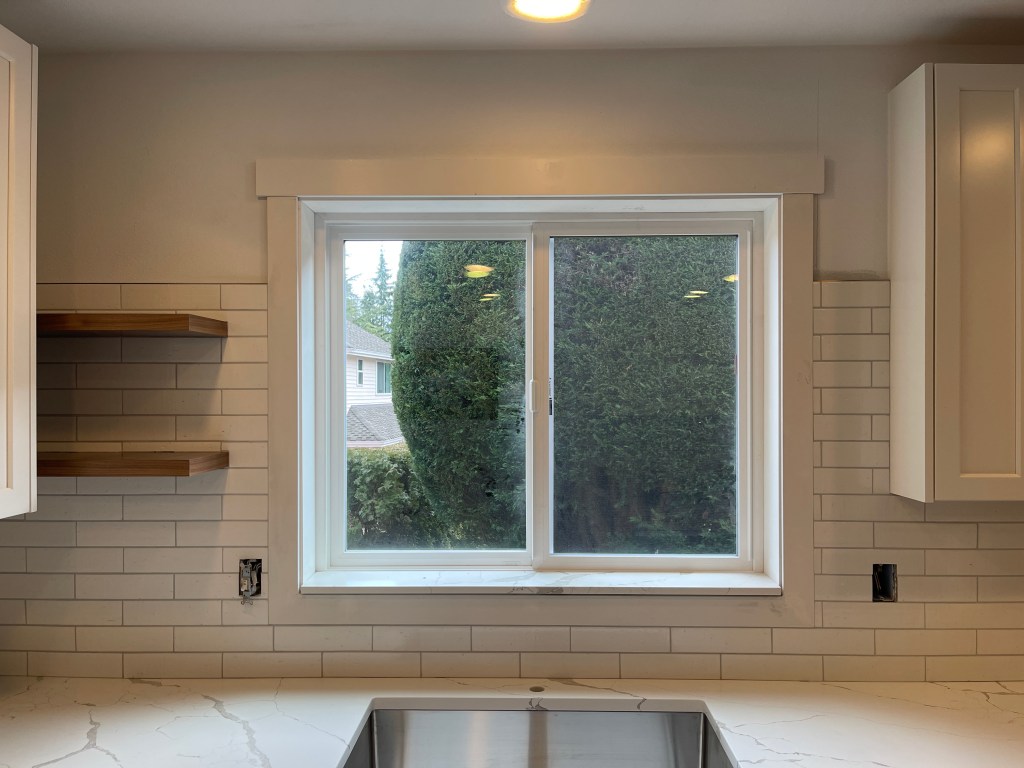
Tile around the sink and window.
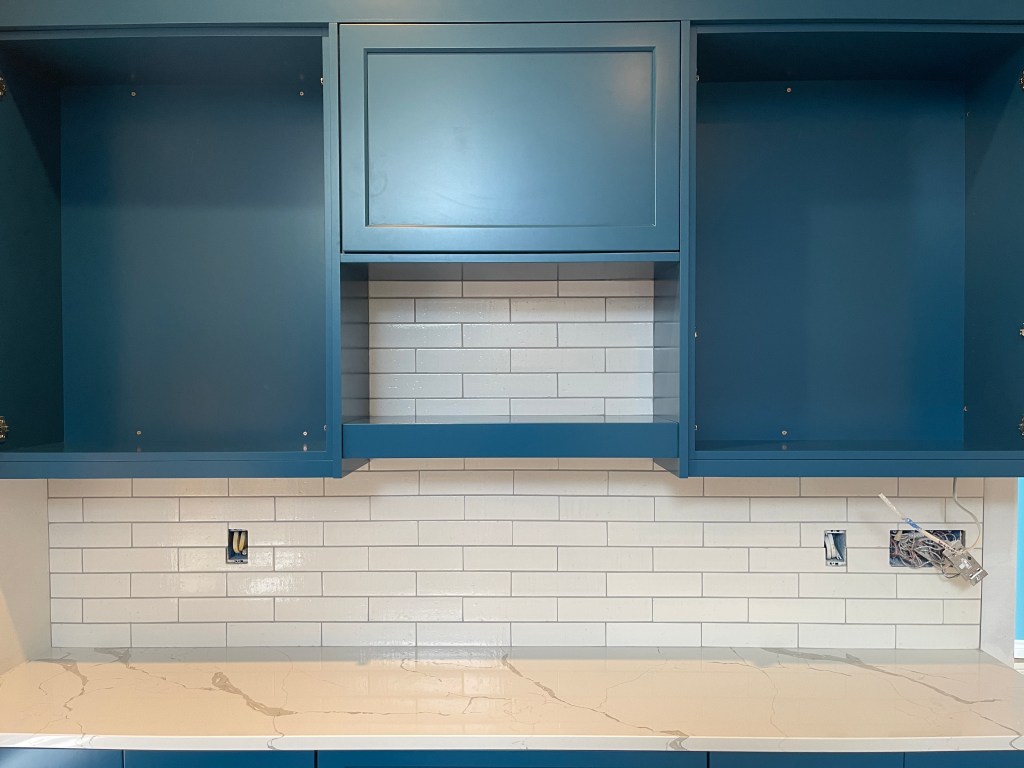
Tile and shelf in the buffet section.
I don’t have any pictures of the caulking, but that’s okay – you shouldn’t be able to see it from this distance.
The grout might even be a little lighter now – it wasn’t fully dry when I took these pictures.
Next up: appliance installs and maybe even knobs & pulls?
We’ll see!
