Now that the under-skins are installed, I have been able to complete our new kitchen lighting installation.
While we had a designer initially involved with the project, the actual lighting plan came down to us. Fortunately, we were able to leverage some expert advice and get the proper light fixtures for our whole project.
First, on our sloping ceiling, we previously had lighting provided by 2 cans, one ceiling fan, and a curvy track light near our 3-sided “sun window” in the front. None of that was really sufficient for the area and made the whole front room rather dark at night.
In the early stages of electrical, we had the track lighting removed. Well, to be honest, we had it removed even before construction started so I don’t think I have a picture of what it looked like.
Well, nope: looks like I found an old picture.
This hideous light fixture is gone.
To replace those and make the lighting more ambient, we had the electricians and contractors install new light cans on both sides of the room so that the light is evenly distributed. In addition, we changed the flat LED recessed light inserts to gimbal mounted lights so that we could pivot them parallel to the floor.
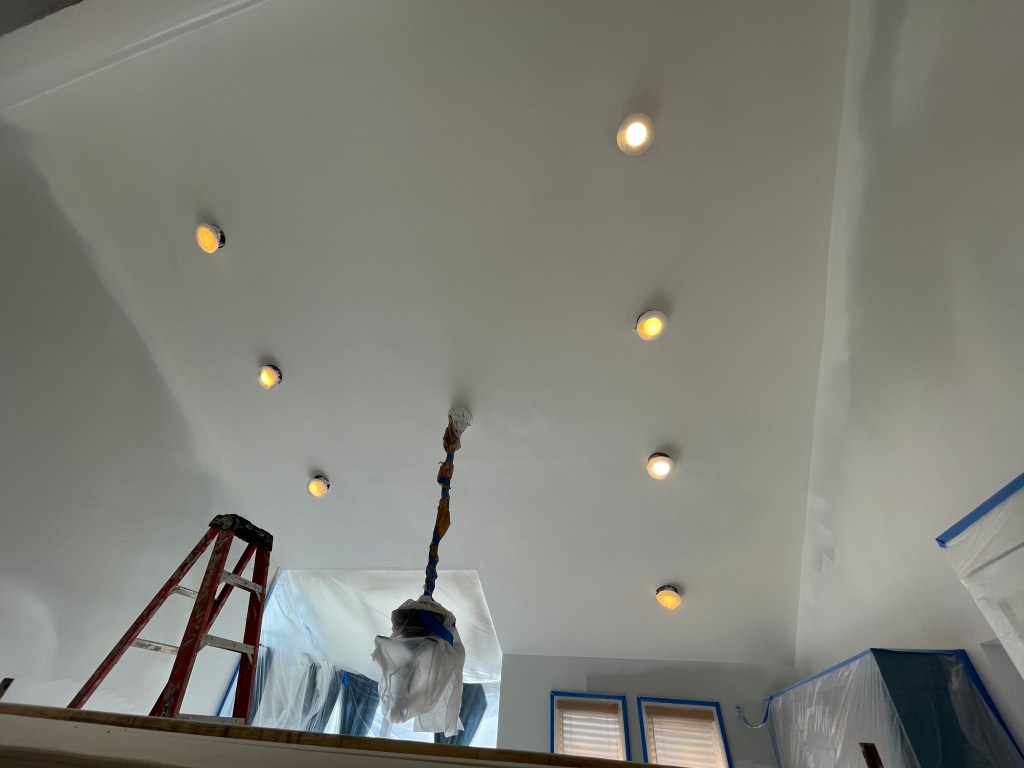
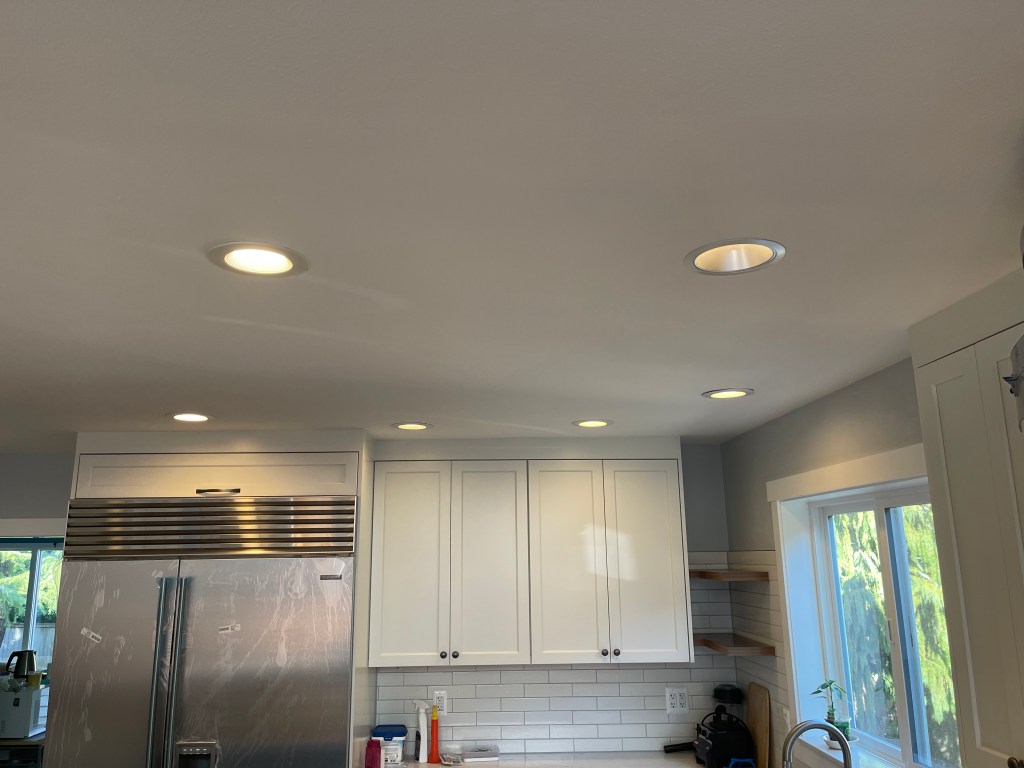
Here is the new layout (shown during the painting phase). Instead of two lights on the right and the track on the left, we have more lights in an even line.
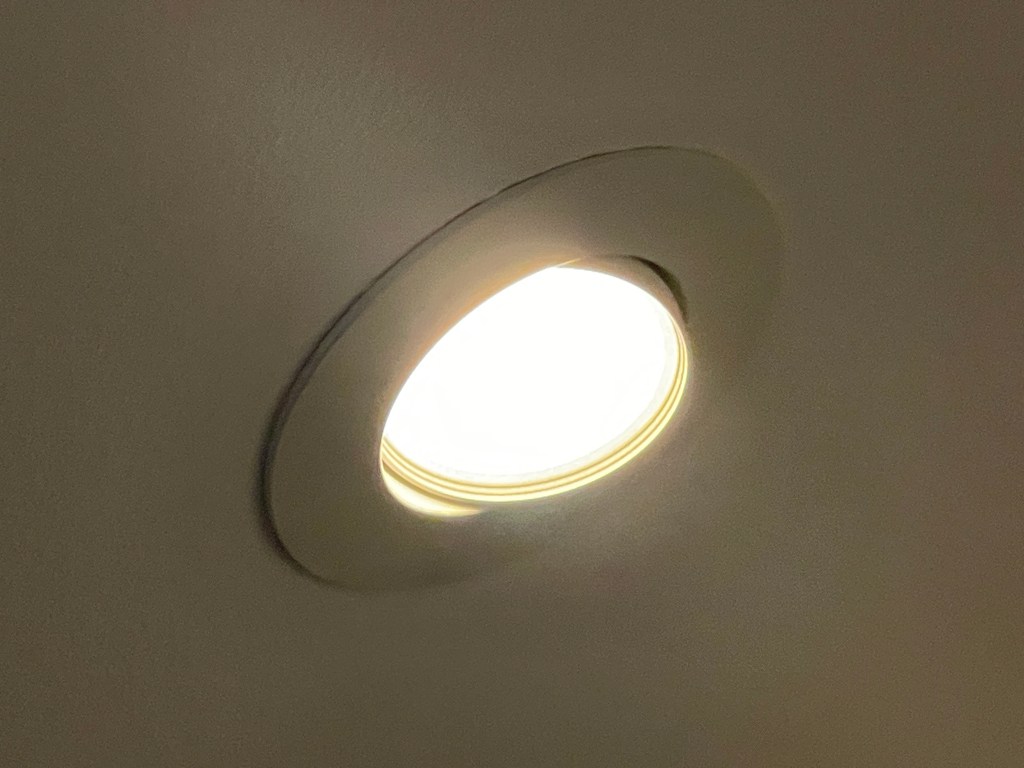
Here is a closeup of one of the lights tilted down.
Once we decided on those, the lights for the main kitchen area were next. With our designers giving us a general guidance on what do to, we replaced the flat LED lights with individual brushed steel liners and individual LED bulbs. This meant that looking at the ceiling, the main lights did not glare like the old ones did, and the bulbs are cheaper and easier to replace.
Here’s a comparison between old and new: the new one is top right, and all the others are the old kind. Notice the hotspots when you look at them. The new deeper lights hide the brighter parts when looking at an angle.
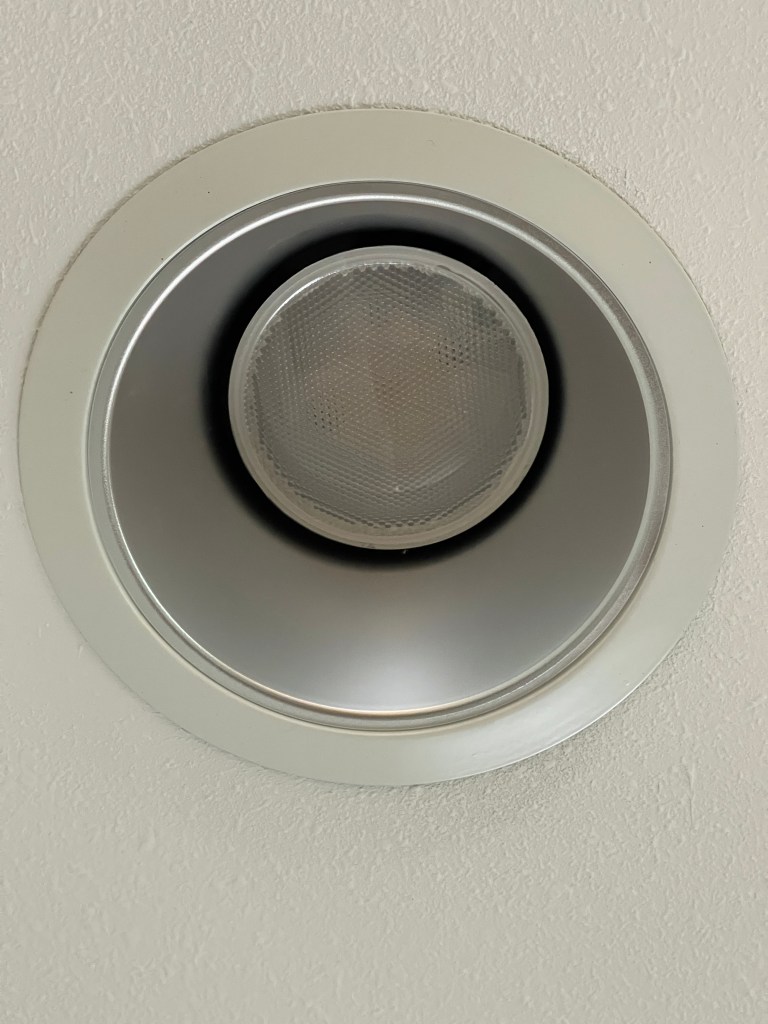
Here’s a close-up view.
I liked it so much, that I ordered replacement lights for the living room, the gym, the hallway, the bedroom, and my office. Those are all replaced now.
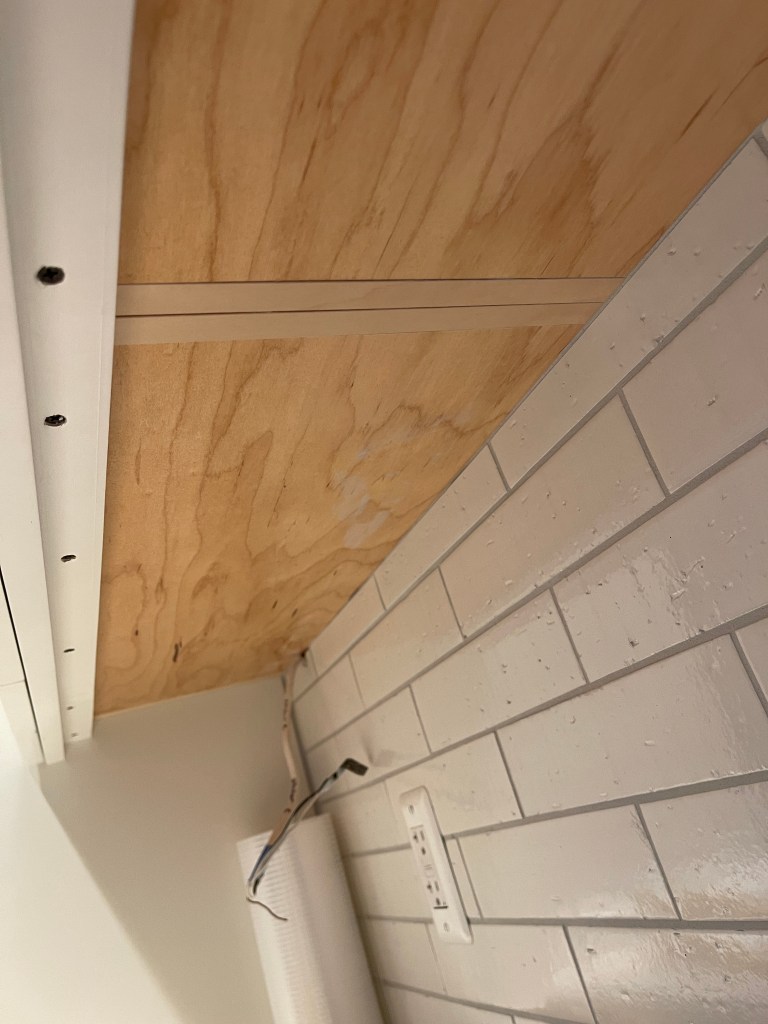
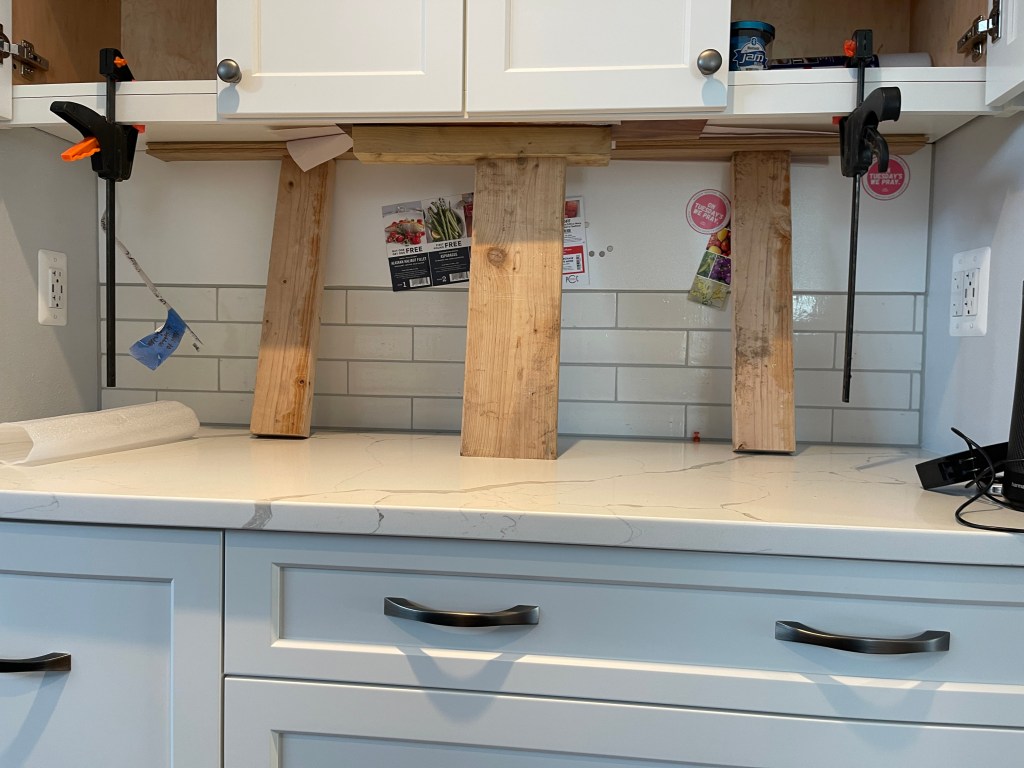
Next up, and last, was the under-cabinet lighting. From the last post, you know that I needed to put on the under-skins to get ready for that installation. Once that was done, we were ready to start installing the lights.
For installation, I needed to mount the transformer (connected on one end to 120V AC house power and on the other to the 12V DC powered LED lights) and the light channel, which is an aluminum track where the LED strip sits.

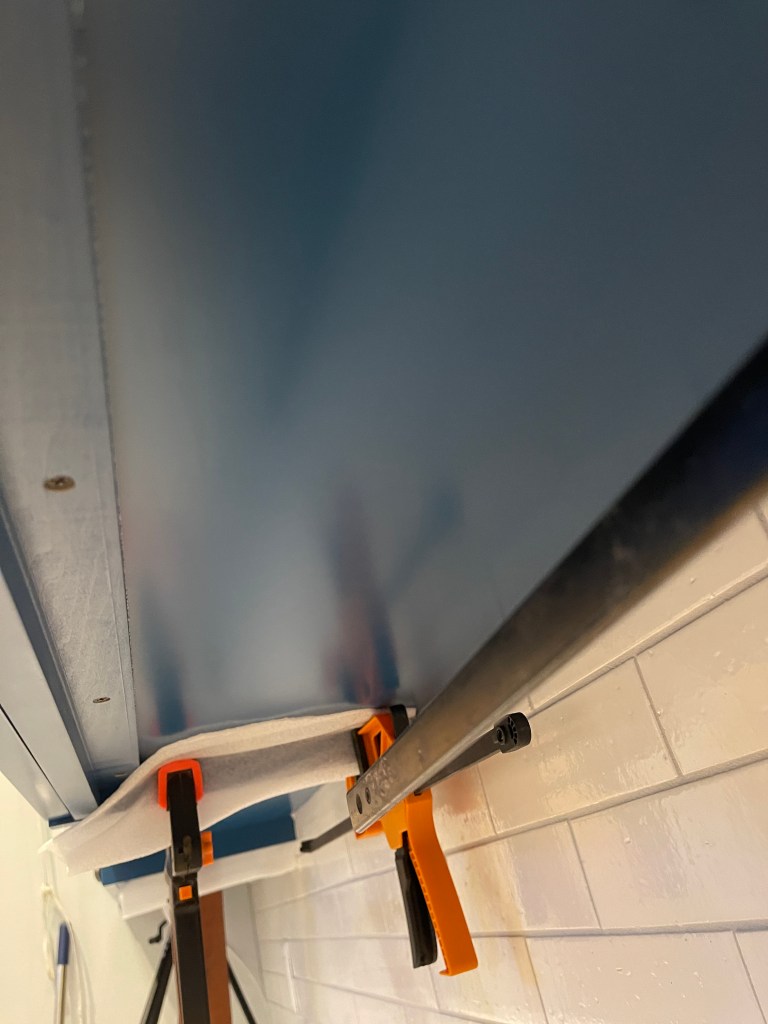
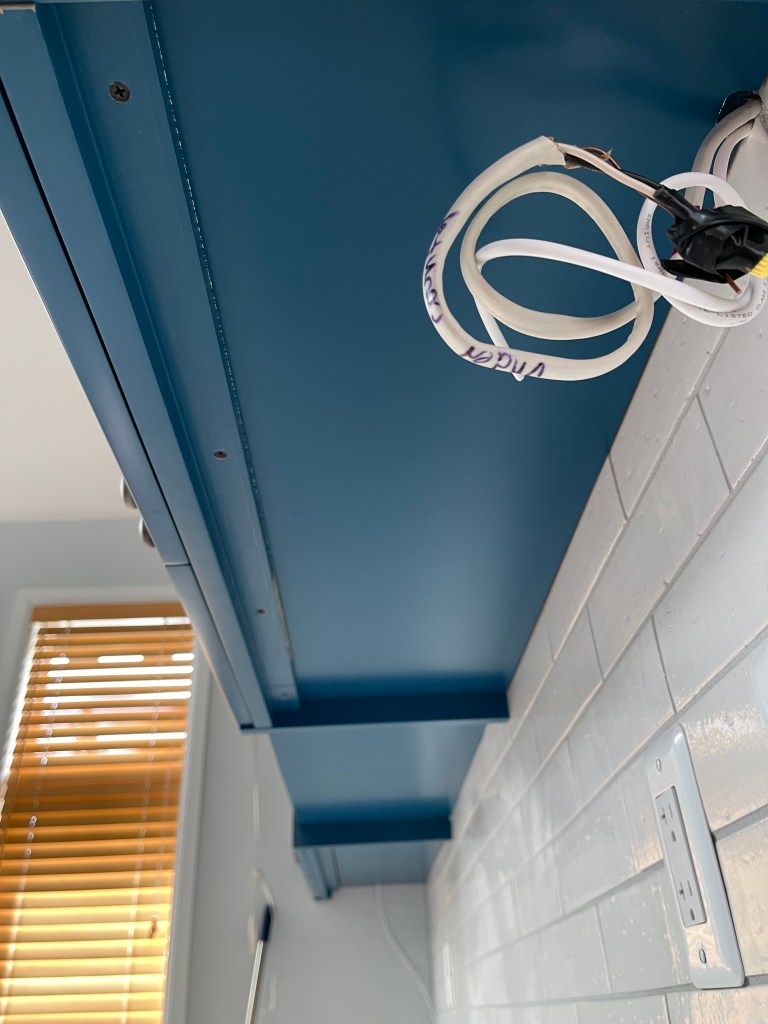
Here is a picture of the LED strip inserted into the light track, which is screwed up through the under-skin into to bottom of the cabinet.
I mounted a small section in the buffet area first, both as a test and since it was close to the main switch.
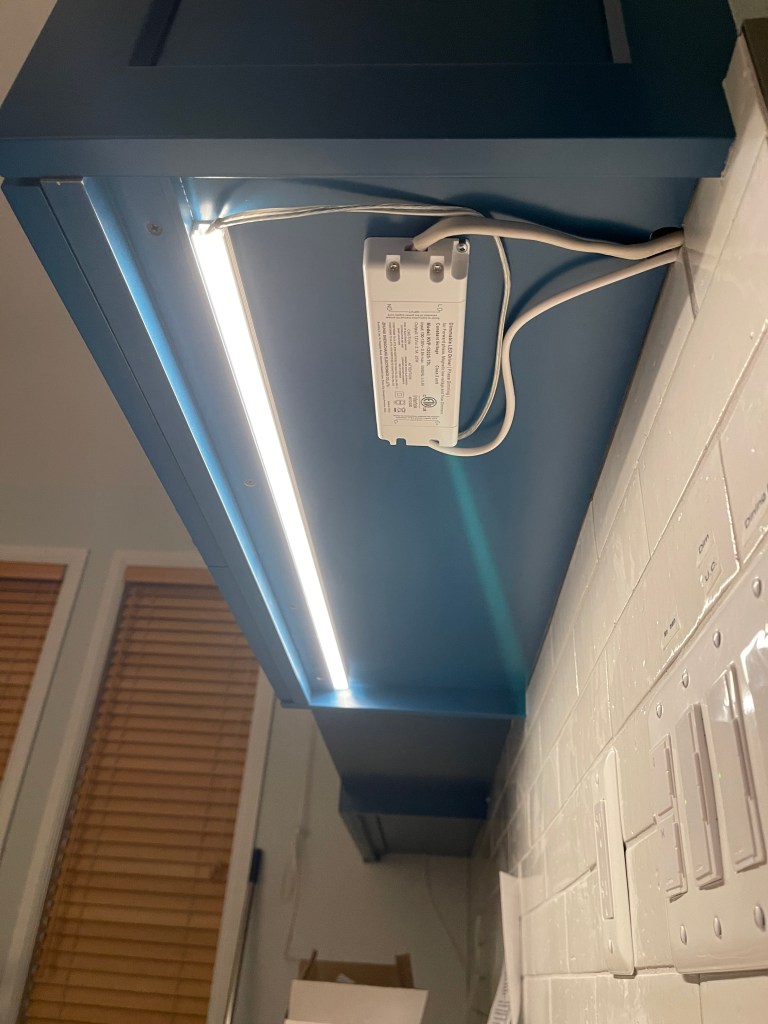
Here is the first section with the transformer and diffuser strip on top of the LED tape. Notice the extra line going from this transformer? Well, that is for two things: first to have a connection to the other cabinet since they are not connected, and secondly to have small LED puck lights inside the glass-fronted cabinets.

Here is that first section from the front.
Once I got this section out of the way, I moved into the main kitchen area for the longer pieces. The rails are only 48″ long, so I had to add cut pieces to make up the additional 10 or so inches. Both sections are just under 60″.

Here is the main section of the kitchen illuminated only by the undercabinet lights.
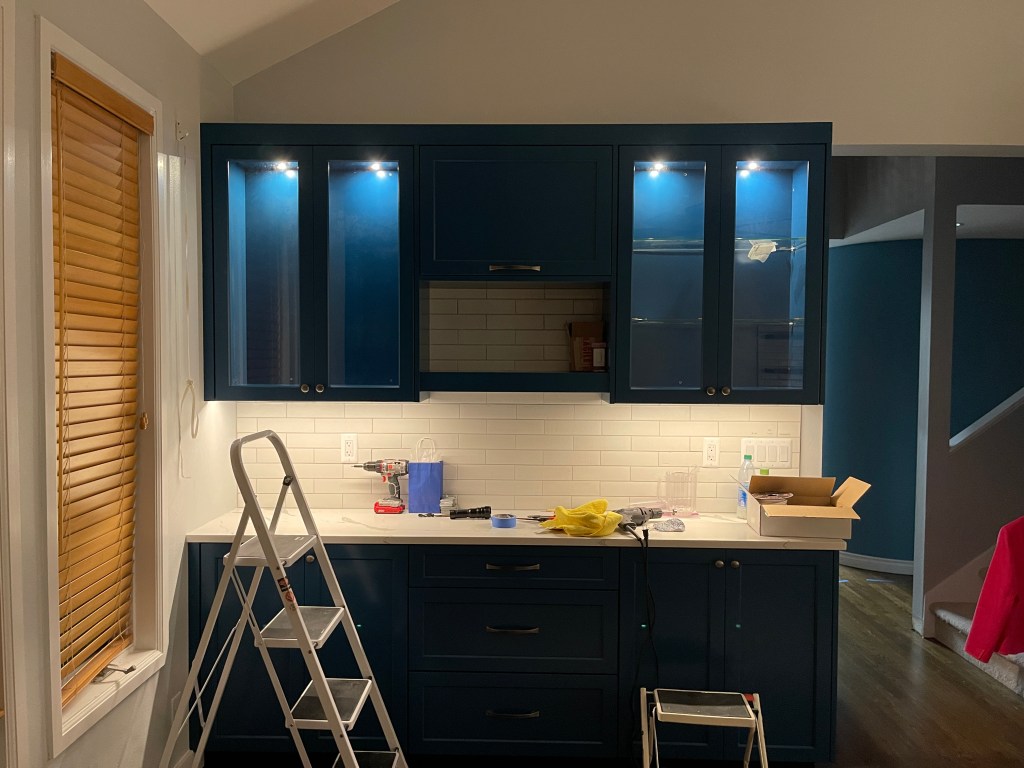
Here is a final view of both sections of LED undercabinet and all four internal puck lights. To install the puck lights, I had to use a 1″ Forstner bit to make the hole for mounting – what a lot of saw dust! It felt like it was snowing in the house.
The idea for the cabinet lights is to provide illumination of both the items on the shelves, and the blue background so it does not appear black.
The final step for this install was switching out the standard 3-way switch and adding a “companion” dimmer to it. The main dimmer was already present, so the companion dimmer allows us to dim from each location. I replaced that switch yesterday, so all lighting is now complete in the kitchen.
The last piece of work for the kitchen will be the final flooring touchups and baseboard reinstalls. This will happen next week.