So, the delay I mentioned earlier was simply an overestimate by the countertop company to take into account any number of delays, which there really weren’t. The only delays in that process were getting measurements done and approved. once that was done, less than a week later, we have stone. Rock. Counters.
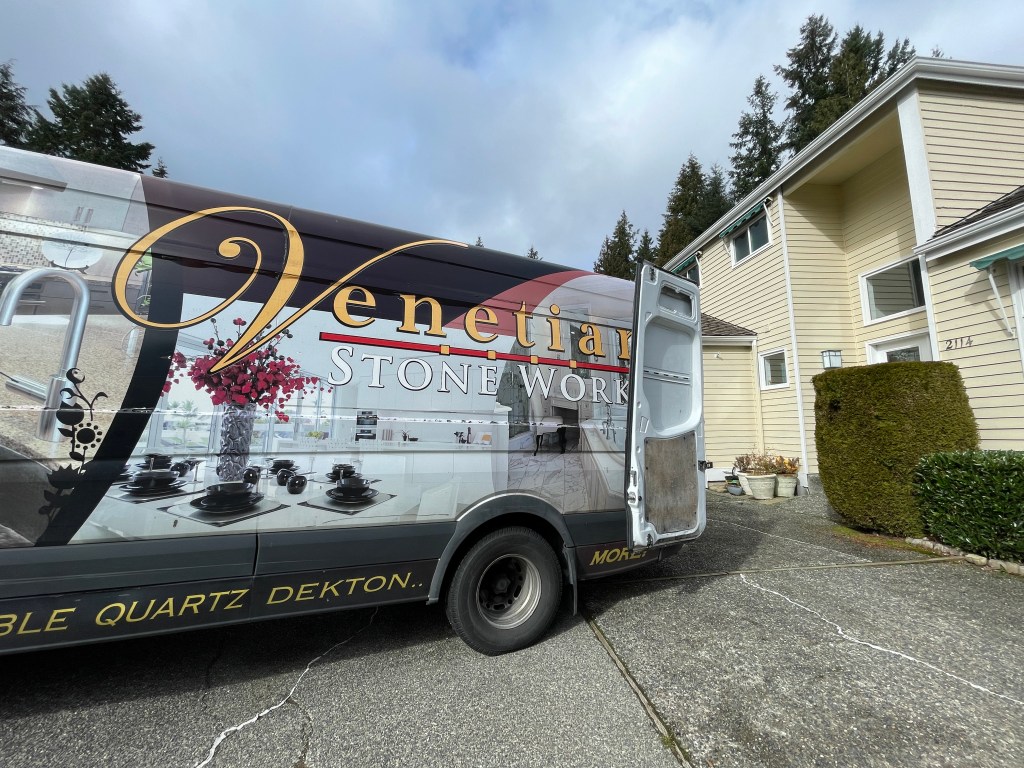
It was a beautiful sunny day today as the stone truck arrived. Inside it were our custom milled counter sections. (Yes, I know everyone has custom milled counters, but it sounds nicer that way.)
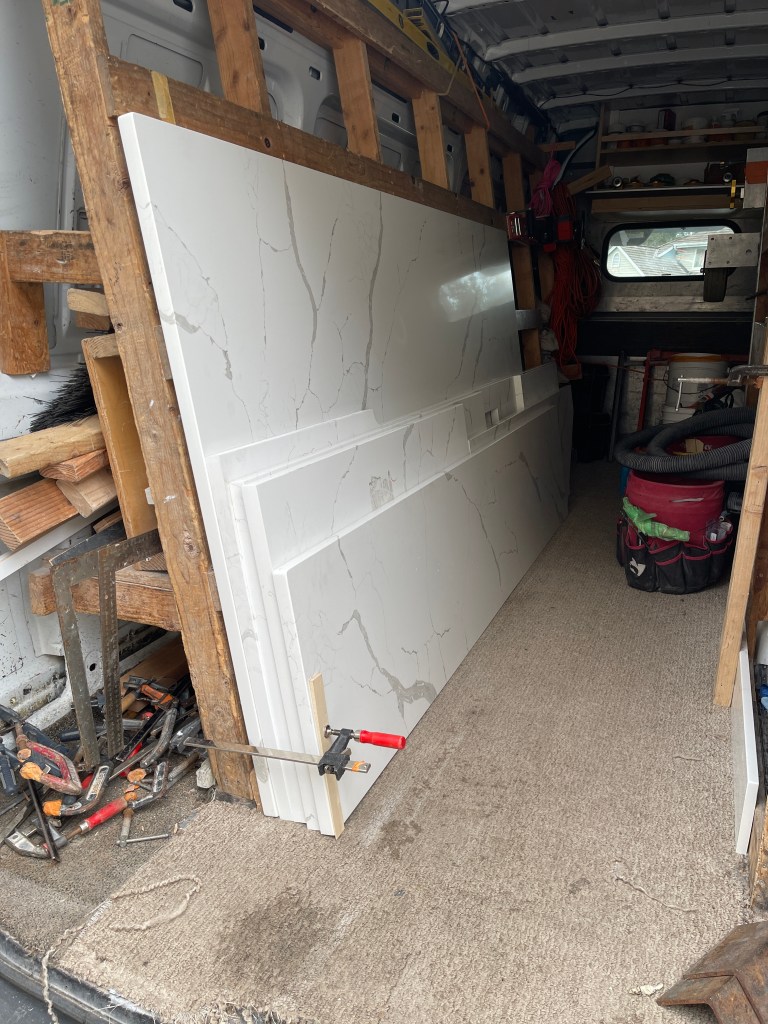
Kept safe with clamps and dry inside the truck, our stone is ready to install.
Now I say “stone”, but it’s not really stone – it’s quartz countertop material, which is bits of quartz embedded in resin, shaped and colored to look like just about any natural stone such as granite or marble. Ours is a Calacatta Laza marble-like quartz countertop. We’ll call it “stone” since that’s what the industry guys call it.
I don’t remember what brand it is, but that’s not the important part here. What is important is that it is here and installed.
There are 7 pieces of stone to install here, and only one seam on the longest section. 6 counter pieces and 1 windowsill of the same stone above the sink.
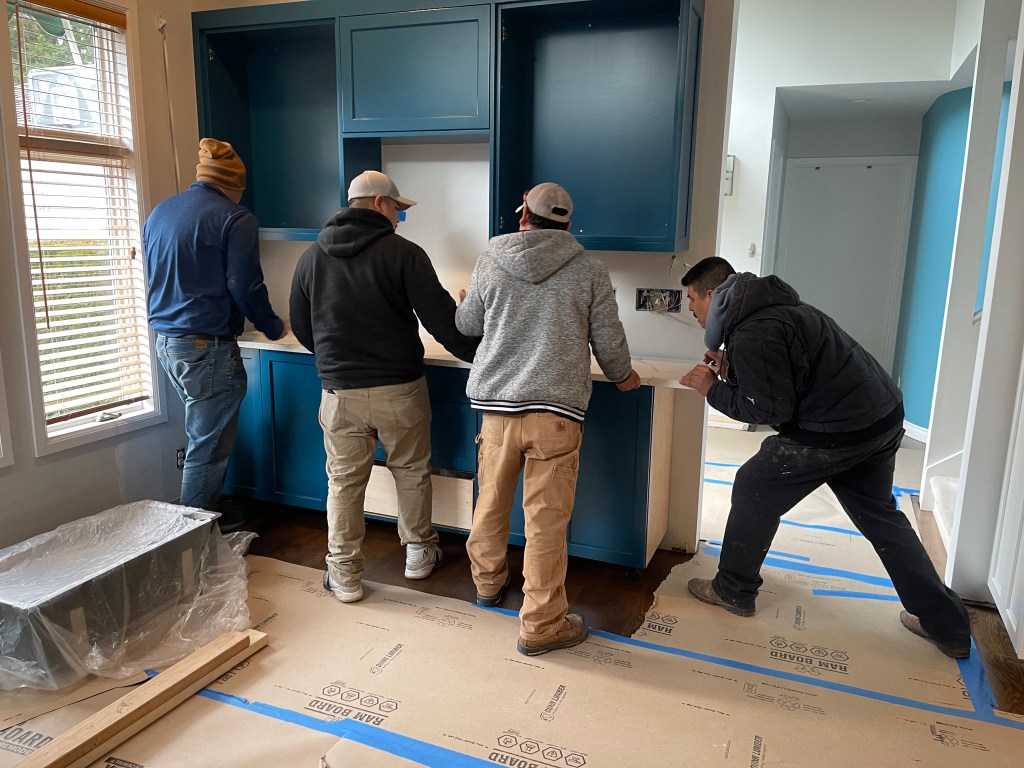
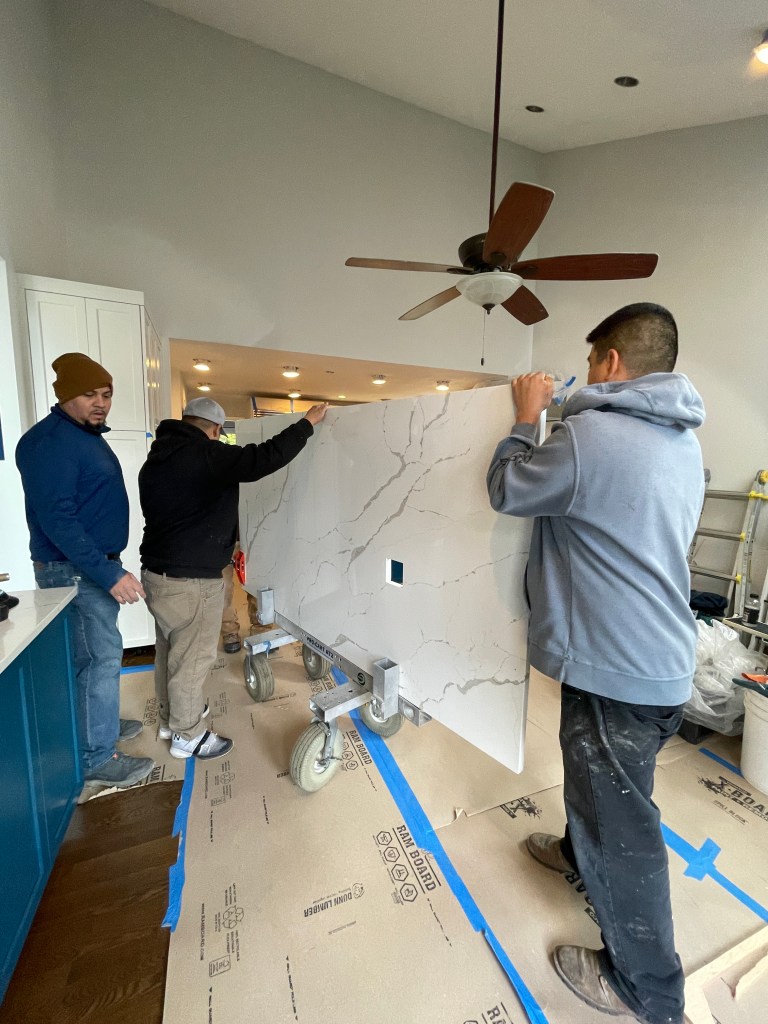
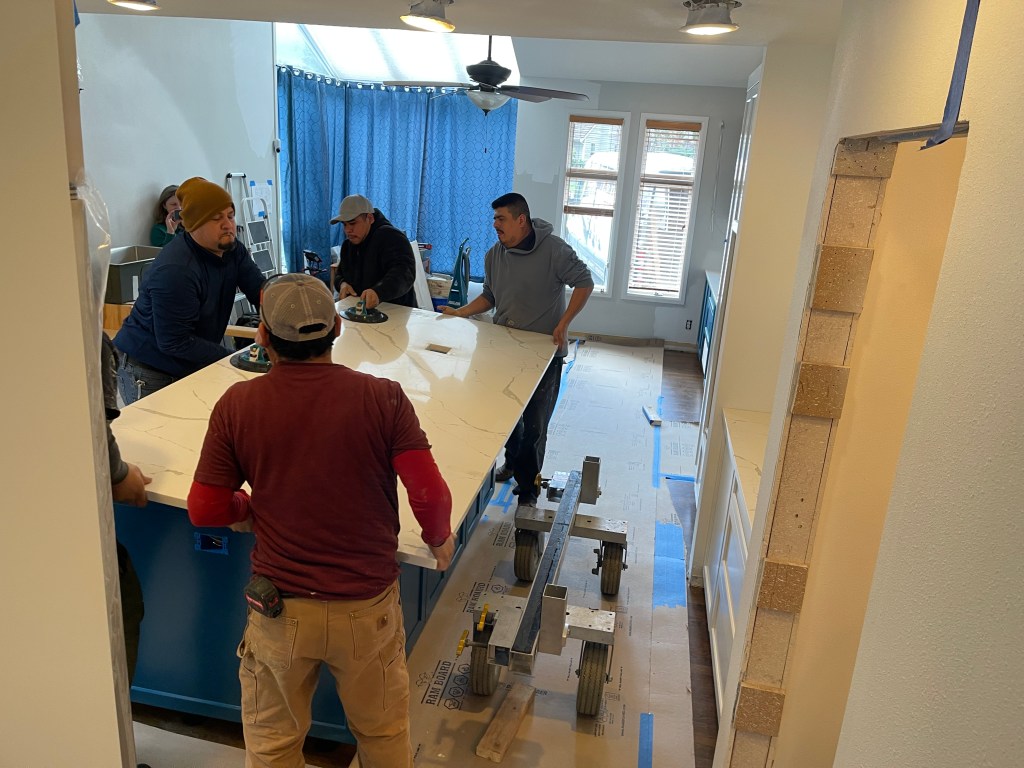
I will say that these are a BEAST to move. There were 5 guys on site for install and they did a fantastic job. They moved most of the stones by hand, but for a couple, they used a small truck to roll it in.
First section installed.
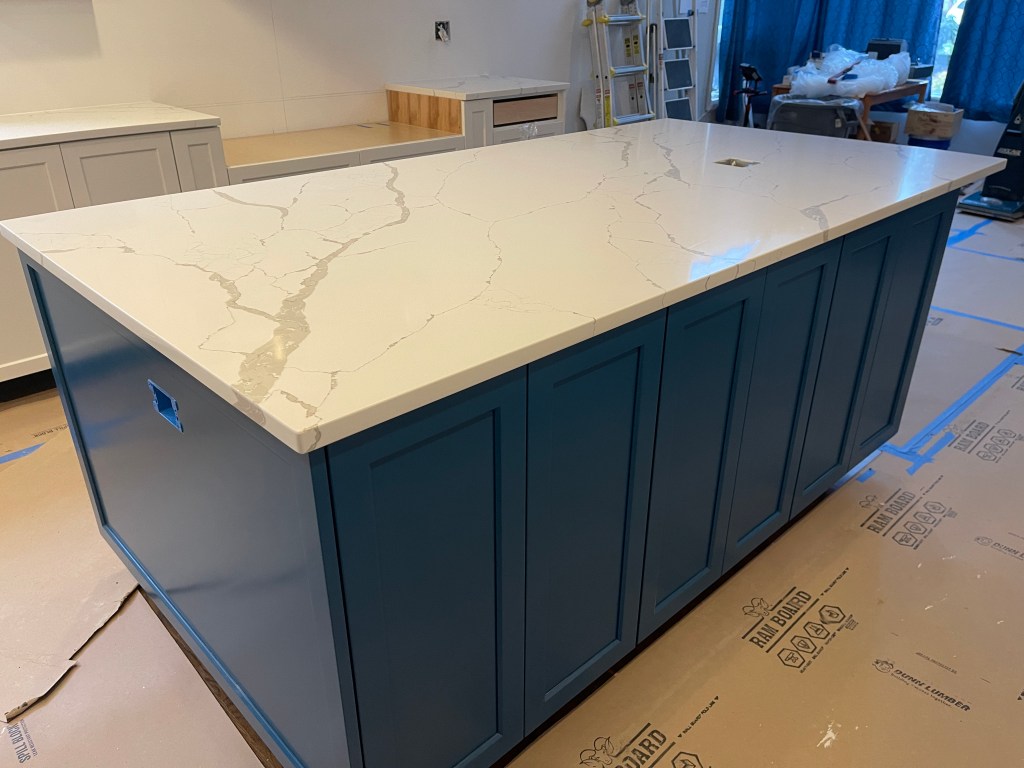
The island piece was the biggest and heaviest.
Installing it took all 5 of them.
Another view of the finished island stone.
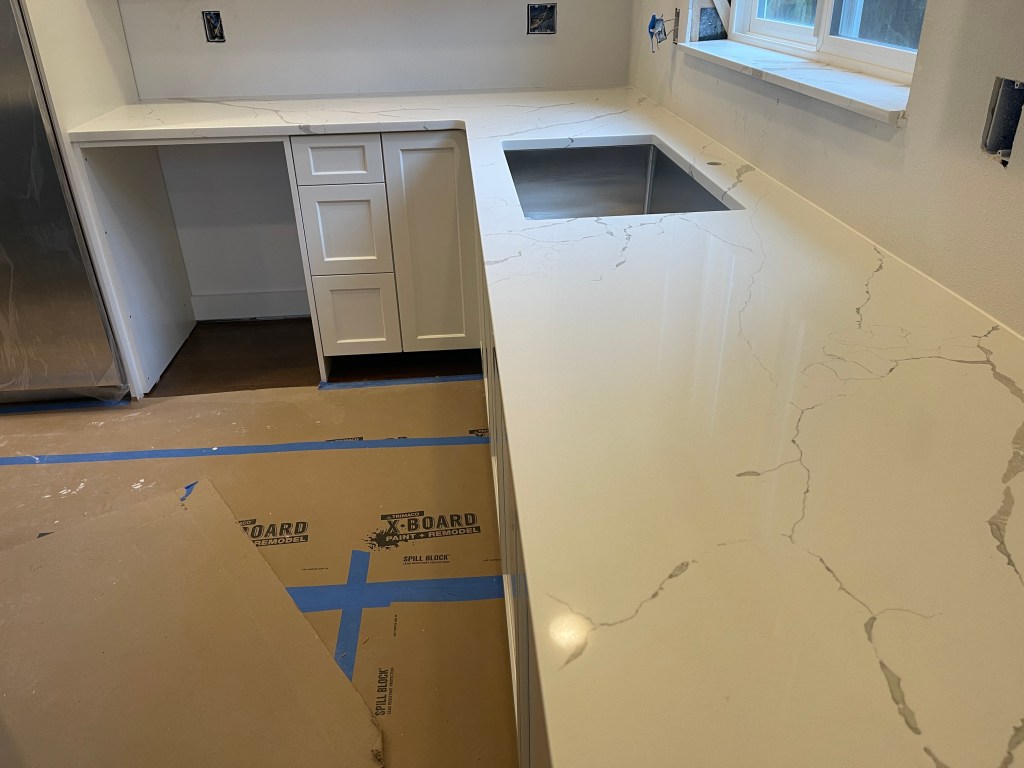
Our side wall area (calling it the “desk” area, but not for seating).
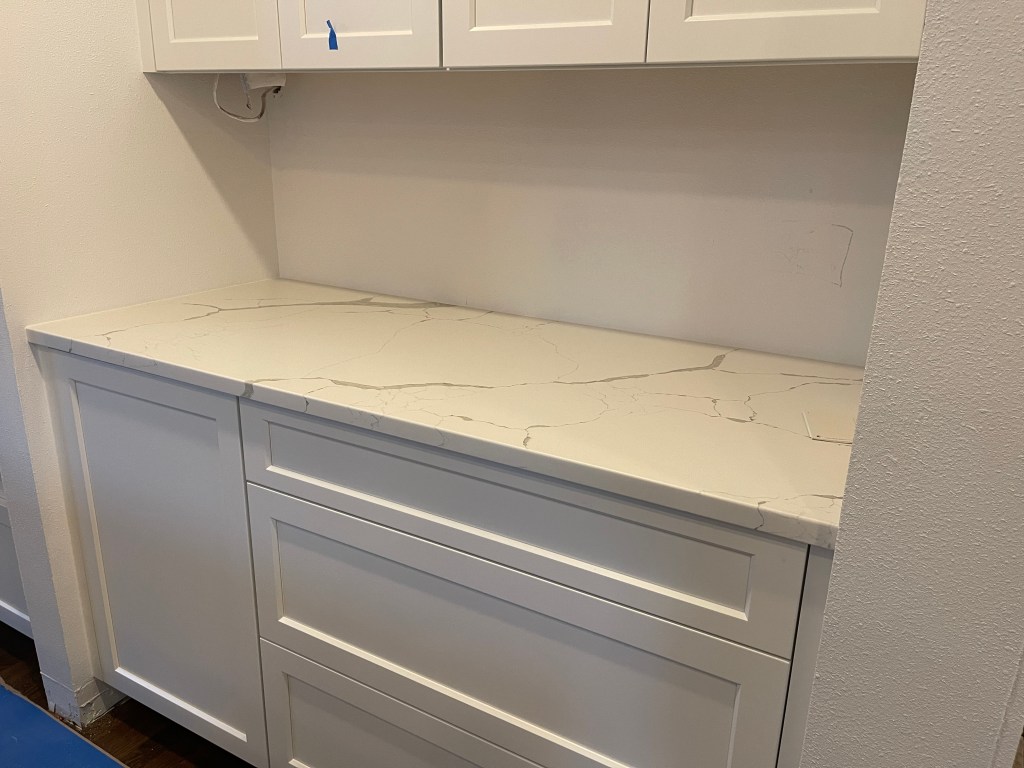
The buffet area that will be in the new dining room section. (Yes, I know there’s a drawer front missing – we are having it repainted as it chipped.)
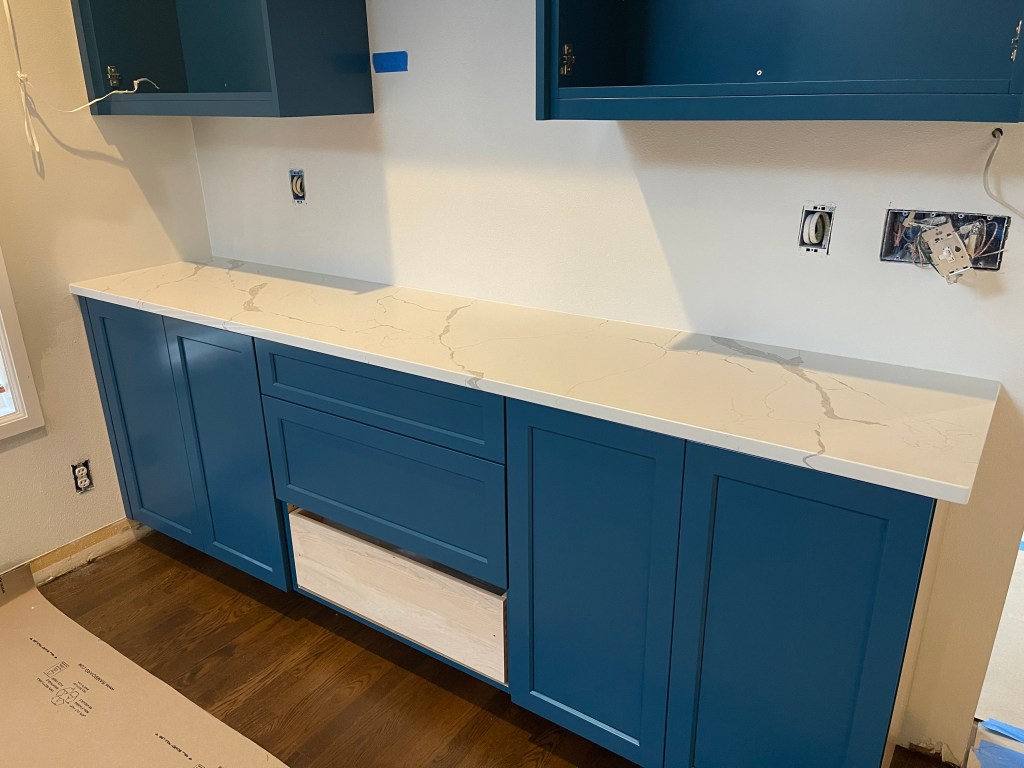
The longest counter section – there’s a seam in the other end somewhere if you can find it.
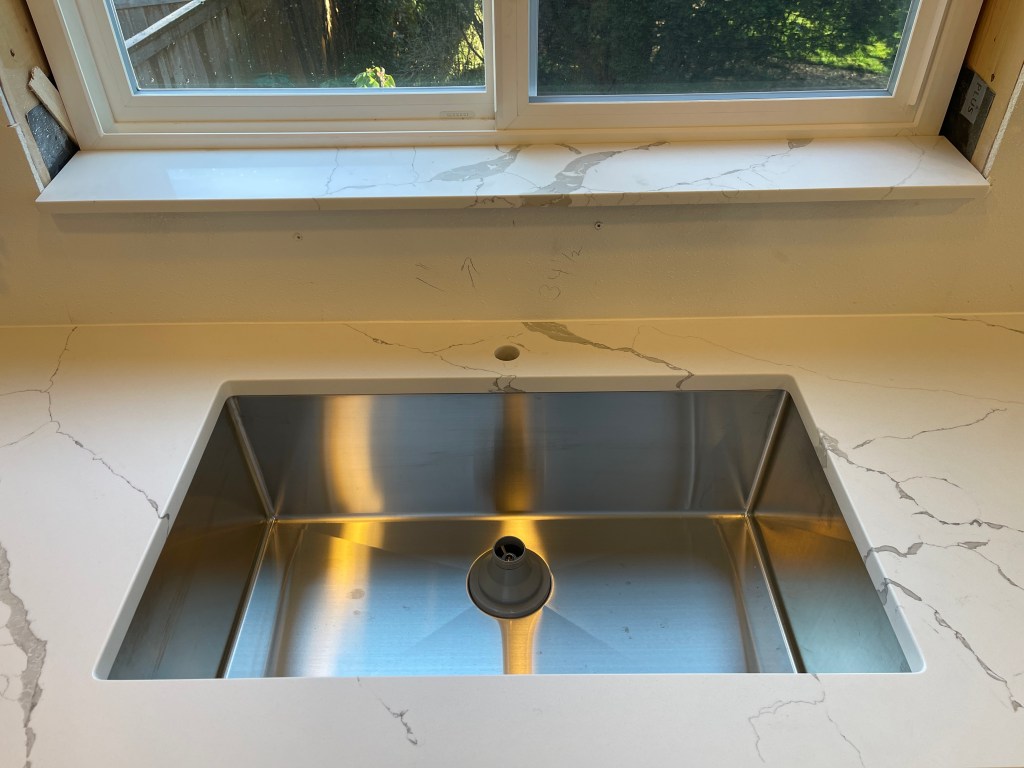
Finally, our sink and windowsill all matching.
It is hard to describe the feeling we have now that we are SO CLOSE to finishing this project. It now looks like things are on the downhill slope, accelerating towards the finish line.
Next, just a few more things to go: tile, toe kicks, trim (baseboards, doors, and window), knobs and pulls, faucets and plumbing, appliances, floor squeak repair, painting…
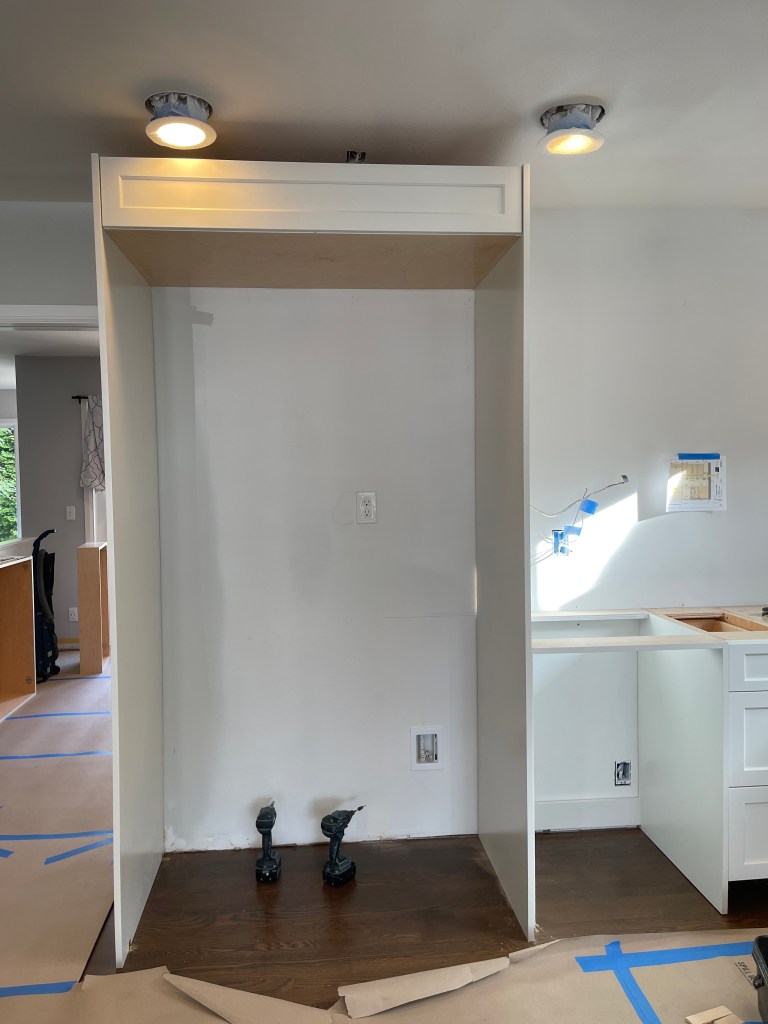
Now that the cabinets are installed, we have been noticing a few things that we did not notice before. Especially, we noticed that the lights above the main cabinet for the fridge were mounted too close to the cabinet, in fact: if the crown moulding were installed, it would cross the light bezel making it impossible to replace.
Notice the two lights above the fridge cabinet. The one on the right would just touch that corner of the crown moulding if it were installed, whereas the one on the left would be partially blocked.
This issue really came up for two reasons. First, because we didn’t pay enough attention to the placement of the cabinets and light fixtures already in the ceiling.
Is this our fault, or our designer/contractor? Sometimes I think we are telling them how to do their jobs… And we are.
They looked fine where they were according to our idea of where the cabinets were supposed to end up. Second, the cabinet company (unbeknownst to us) decided to extend the fridge cabinet depth 3 additional inches. Now, this might have been seen as a considerate concession: meaning they were concerned about the fridge doors opening up and hitting the counter, since it protrudes about 1.5″ from the cabinet doors (a little over 24″ depth). In most cases, this would have been fine. However, the particular fridge we purchased had a specification diagram outlining the exact measurements required for installation – and it was PRECISELY 24″ deep. Not 27″ inches. The doors are specifically designed to not strike a counter when opening. They hinge in such a way that no part of the door will pass 90 degrees of the opening.
All that consideration was for naught, AND it left us with a light buried behind the crown moulding.
So, we had to move the lights.
Since we had to do that, we moved the right light over enough that it was proportional to the other light next to it on the right. The left light, we pulled out to balance with the pantry wall light and centered it on the fridge compartment.
Now they are in the right place.
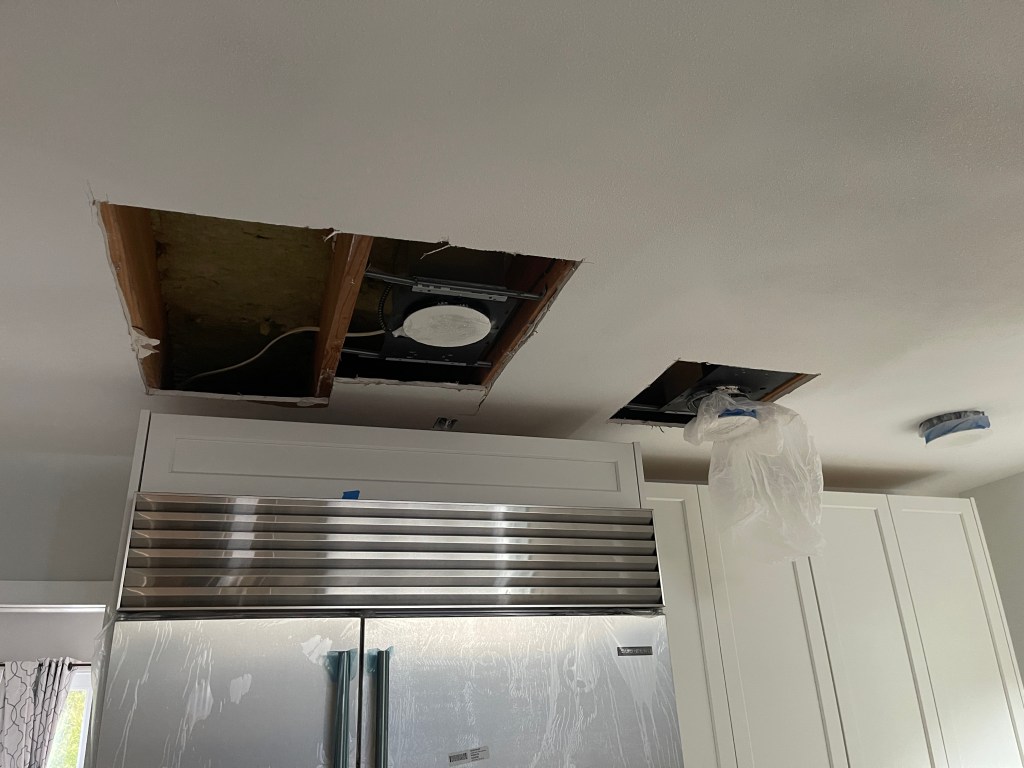
Of course, that means that we had to have the ceiling carved up again. Right through the new sheetrock that got replaced just last month. When I say “we” here, I mean our electricians moved them.
Our sheetrock guy was NOT HAPPY!
He came back today and repaired it.
Patch work.
Now, we are letting it dry for sanding, texture, and priming.
Sometimes, it’s two steps forward, sometimes it’s spiraling towards chaos.
But we are getting closer to done, and we have a sign-off meeting with the cabinet people on Monday so that will get done soon.
Since our counter tops have been delayed, for some unknown reason which I mentioned a couple of posts ago, we had some time to leave our living room empty of furniture. At first, we just wanted to make sure the finish was fully cured. But, as it sat empty, I got the idea to finish the wall painting.
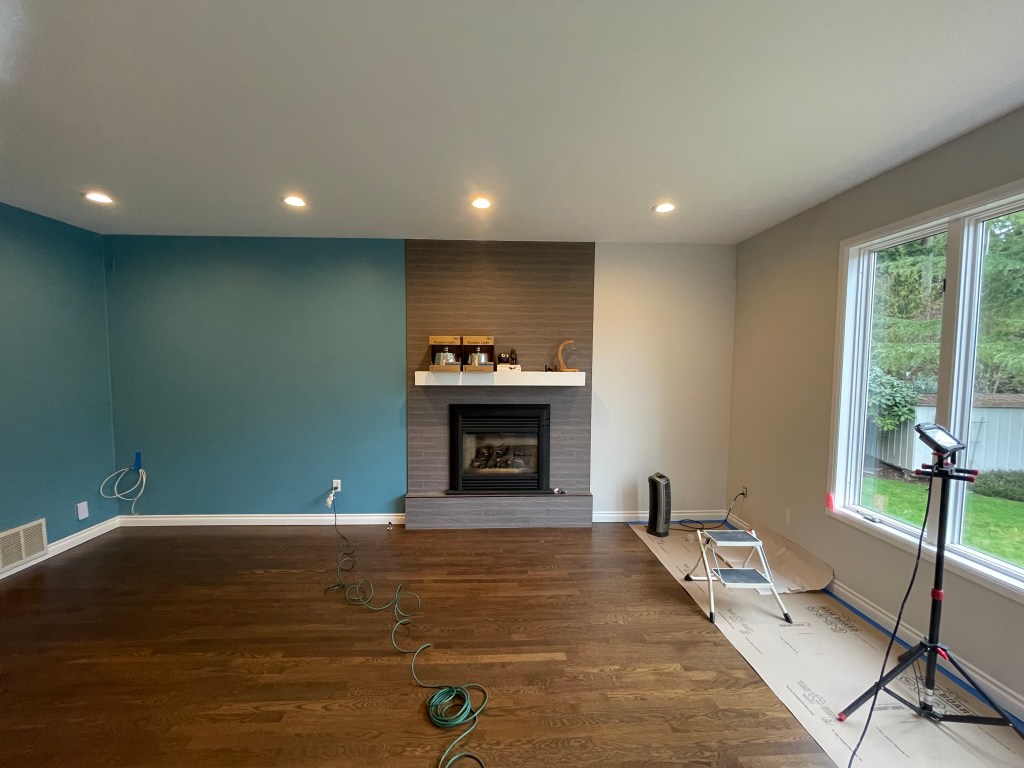
Now, you will notice that the wall on the left side of the fireplace is blue (the color is called “lakeshore”, but I will call it “blue” for simplicity) and on the right side it is the drab green/gray color that the house was painted when we moved in. I call that color “paste”.
The “before” picture of the fireplace wall.
The original idea was to paint it, but we didn’t want to move the furniture around. And since there was a nice hard break in the wall, we could do it in phases.
Now is the time for a new phase.
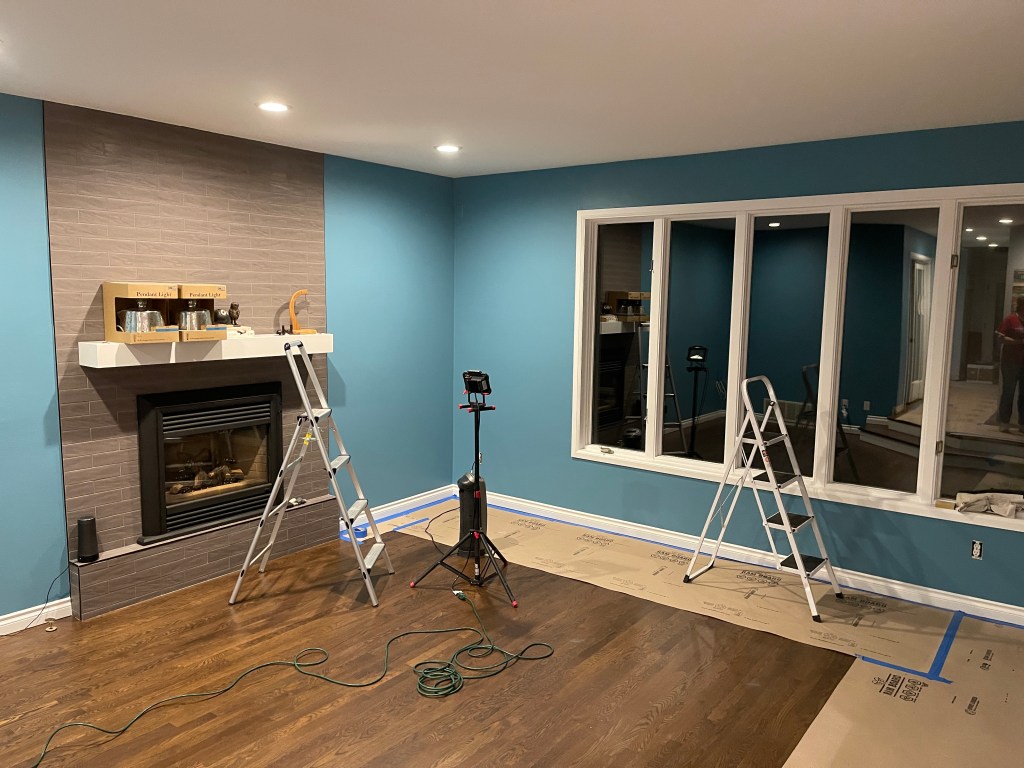
So, we patched some holes, sanded, added texture, taped it off and then painted. First, we updated the tepid gray “paste” to a much cooler gray color which is painted in the gym room. Then, we added the blue to the remaining side walls in the living room. This includes the window wall, but not the back half-wall. That one we painted the new gray.
Here is the difference between the two grays: the one on the right is new, while the left side is the old color throughout the whole house.
New blue walls completing the room.
Final gray matching the room behind the half-wall (which is the gym).
You might see that some touchups are needed at some of the edges if you zoom in to the pictures, but we’ve completed those now. You can also see all of the items stashed in the gym while we shuffle all our furniture between the rooms being refinished.
The next step will be to move all our stuff back into the living room and clean out what we crammed into the kitchen and other rooms.
Now, we have to work with the stone people again soon to get things started up. Let’s hope we can get things moving soon.
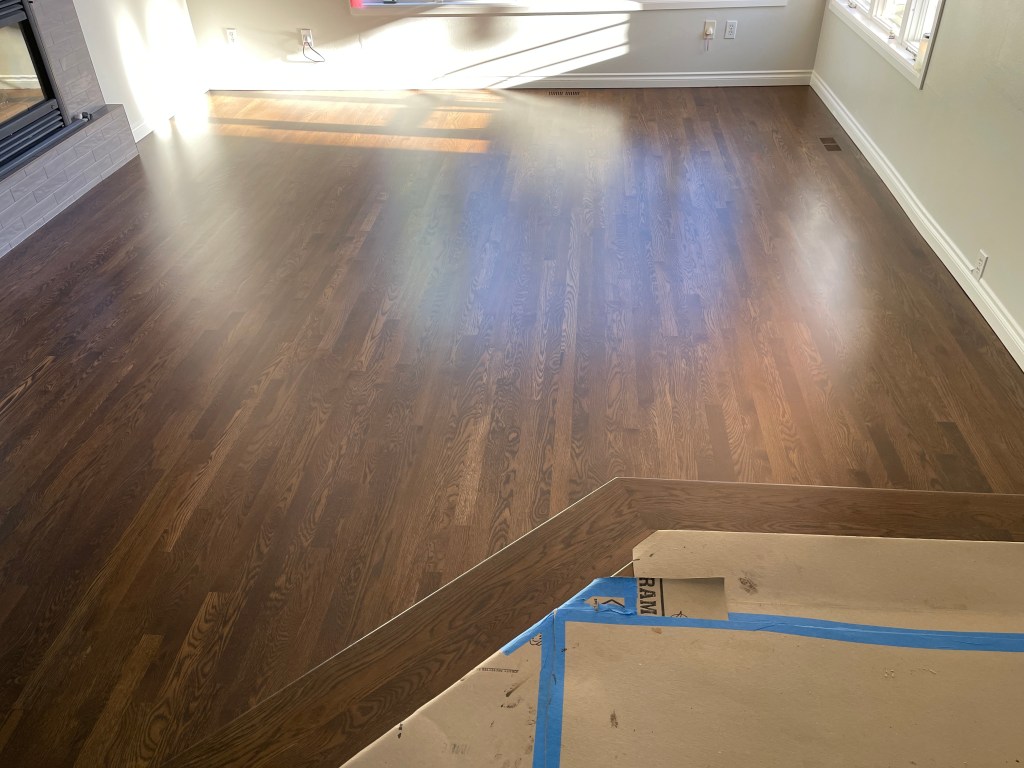
As an update to the floor refinishing drama, the living room refinishing is done. There are only two tiny little bubbles in the finish, so we can start moving our furniture back in tonight.
Here is the whole floor completed.
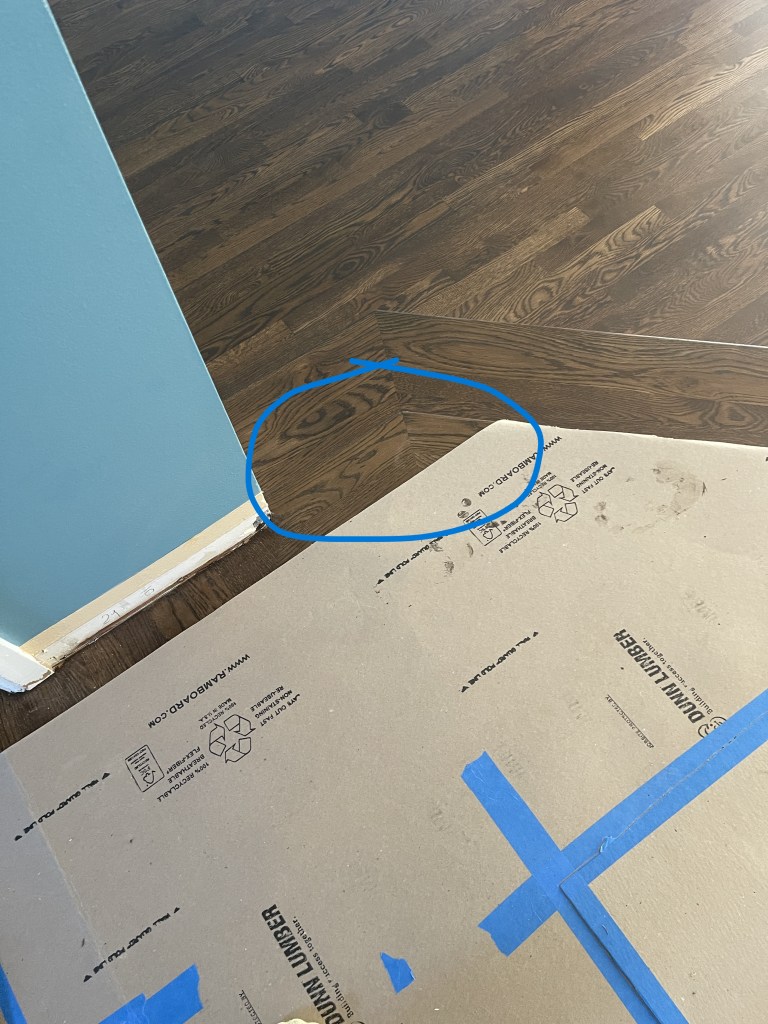
Notice the highlighted area – the colors on the steps and floors match perfectly with the main floor.
We have a winner!
Now, we can start moving furniture back into the living room so we can clear things out of the front of the kitchen before the construction teams come back and make more dust.
There are still some tweaks to do before we call it “finished”, but those are mainly some squeak remediation and spot repair. Those can wait a little while, but we’re almost done.
When reading “accoutrements”, you absolutely must use a French accent. After all, we are talking about the “fancy bits” of the kitchen which put the spit-and-polish finish on the whole project.
Well, not “spit” in literal terms, I hope.
I am talking about kitchen hardware. The faucets, handles (or “pulls” as I have been made aware) and knobs. This has been a long journey started well before the cabinets were finalized. It has taken many months, maybe even the better part of a year to finally get it right.
It was not easy – in fact, it took much prayer in the end to finally land on just the right combination of items to make it all fit together.
There was also weeping and gnashing of teeth in there as well.
As our appliances and range hood are all brushed stainless steel, we wanted to compliment the finish of those, but not stray too far. In other words, no brass, no chrome, not even the black that is so popular today. We also wanted to have the shape harmonize with the curves of the range hood. There were also stipulations about comfort and safety – no sharp edges or things that would snag clothing when walking by. There are some amazing looking handles, but many have pointy bits on the ends which could draw blood.
No, we wanted curves. Not too many, but understated and tasteful. So began the shopping. Store after store after web store after web store. Several Amazon orders were placed and returned. What we finally found was a knob we liked in a finish called Antique Silver. It is beautiful and made the final cut for installing in the kitchen. We ordered a few of the matching handles – I mean pulls… right: matching pulls from the supplier in the same finish. At first pass, they were good – not “great”, but they were mostly what we wanted: no pointy bits, easy to get your hand around, and matching in color.
Or were they? Once we laid them out next to the actual cabinets (we had samples before, but once you have the cabinets they are going on, you really don’t know what they are actually going to look like), we absolutely did not love them. They were dark and dull compared to the knobs, and in the right light a completely different color tone.
As the cabinets were nearing completion, we were under pressure to make a choice quickly: after all – the installers were supposed to install the hardware when they installed the cabinets. So, a last-minute scramble to a few local stores was in order. We stopped at the local high-end place where there were several cool options, but none we fell in love with. And a good thing too! One option we looked at was $150 PER PULL! (We were targeting between $3 and $10 per pull.)
Finally, we went back to a place we had been before since it was on the way home. Lo-and-behold what did we see, but a wholly new item on their display panels. It was something close to a pull we had liked before but couldn’t find in the right color. This was a pull in Jeffrey Alexander line called “Philip” (yes, there are a lot of name similarities in there and they are not lost on me…) and they even had a finish called Brushed Pewter that was extremely close to the finish of the knobs.
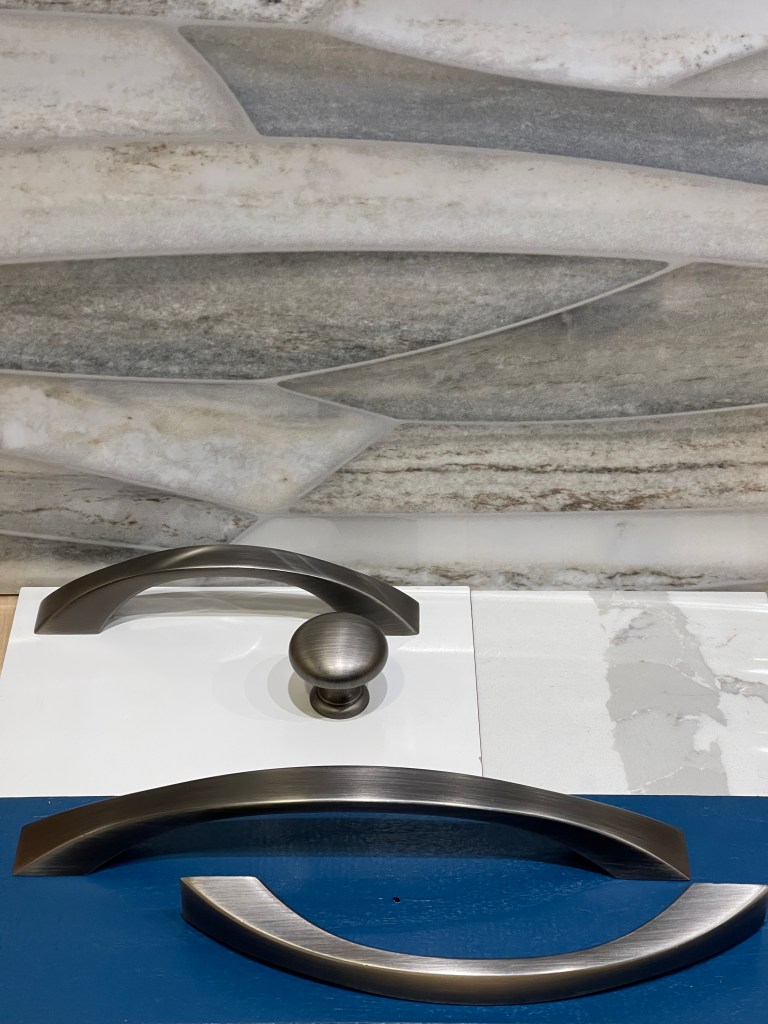
We had found our hardware! Order placed, order received. Here is a picture of the hardware.
Three different sizes of pull on a sample color of our cabinets, counter material (middle right) and backsplash over the rangetop in the back.
If you notice, the sheen on the knobs and pull is bright and similar to brushed steel, but a little darker – enough to match, but have a slight contrast to the stainless of the rest of the accessories.
The next bits we were able to obtain were the faucets and soap dispenser. This actually took us a while, but not quite as long as the knobs and pulls. I wanted something more industrial – you know the coiled over giant spring faucets you find in restaurant kitchens, but Laura didn’t like that so much. We found a compromise initially, but it was too expensive.
The shopping went on for several months, when one day we were looking for hardware at Ferguson and not finding it. We happened to look along the back wall and there were some faucets we could browse, so we did. One option we saw was a black and gold simple faucet with a knurled sprayer and handle. Of course, it was totally the wrong color, but they said they had it in stainless to match. We had already kind of settled on the compromise faucet, but the hesitation I had in ordering it should have been a sign that it wasn’t right for the project.
So, online I went to the manufacturer’s website to look at the stainless model. Sure enough, it was beautiful, and it even had a soap dispenser to match. What was even more surprising is that there was a hot water faucet in the matching style as well! We have become addicted to having hot water so quickly available and easy, so the faucet was a must have item.
But it was also very expensive. What would we do now?
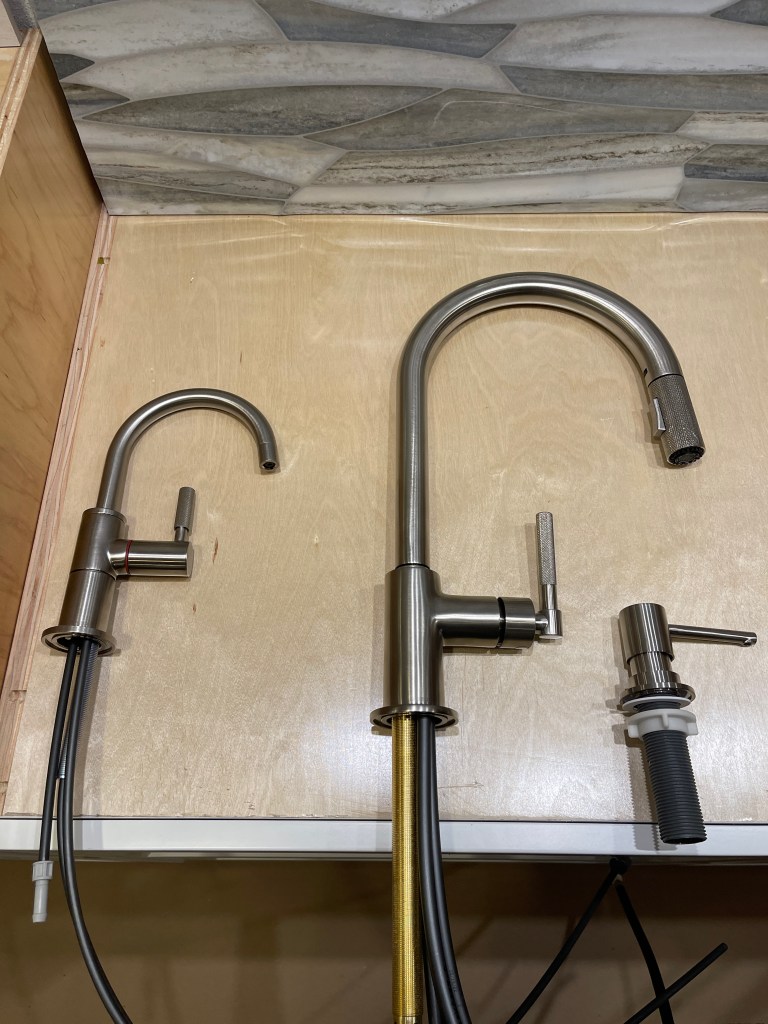
Go to eBay of course. Sure enough, there were “open box” items that were for sale. These were new with fully unopened parts packages, some had damaged outer boxes, but all were new and never used. Buying the big faucet there got us $300 off retail. The hot water faucet was about a 75% savings, and the soap dispenser… well that was just a little cheaper, but worth it. Now they all match.
Here they are.
It’s a brand we are familiar with: we put a Brizo faucet in our kitchen in Virginia when we remodeled that one. We like the quality and feel of it.
We’re excited to get this going!
Now, we just have to wait for the counter tops… which have been delayed for a reason not well explained to me.