Now that the tile has been installed, we can look forward to the appliances coming into play – most of them, anyway.
Since the refrigerator has already been installed, there are only three left to go. Of these, the oven is still the outlier. There’s just some wiring work to finish on the oven before it goes in. Fortunately, we have been able to save some money on appliances by re-using our oven/microwave combo and our dishwasher.
Now, the last time we did a kitchen remodel, we tried to reuse our old dishwasher. However, it was somehow damaged – either during the removal or the installation. The first attempt to use it showed a leak. In this case, though, our rather nice Bosch dishwasher got installed and we are able to use it without leaks.
Phew! (Saved a bit of money there!)
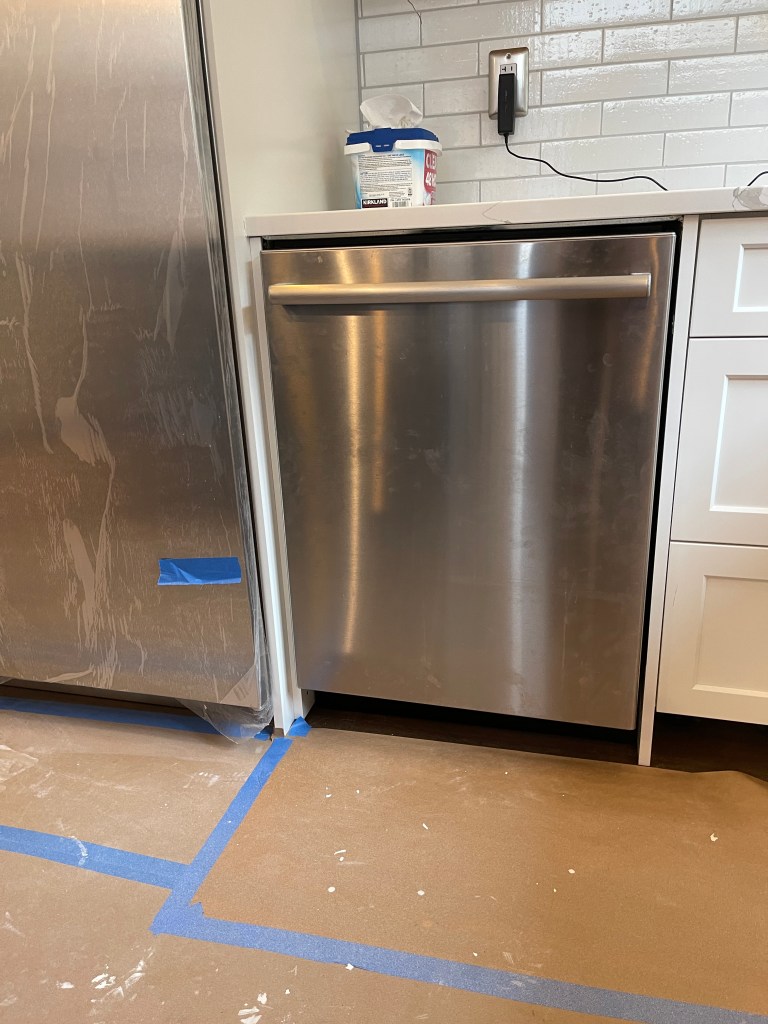
Dishwasher installed.
Now there is a slight issue with this, but it’s easily fixed. The dishwasher has been mounted too far out – it’s protruding about 3/4″ when it really should be flush. The contractor has agreed to align it properly, so that will be fixed soon.
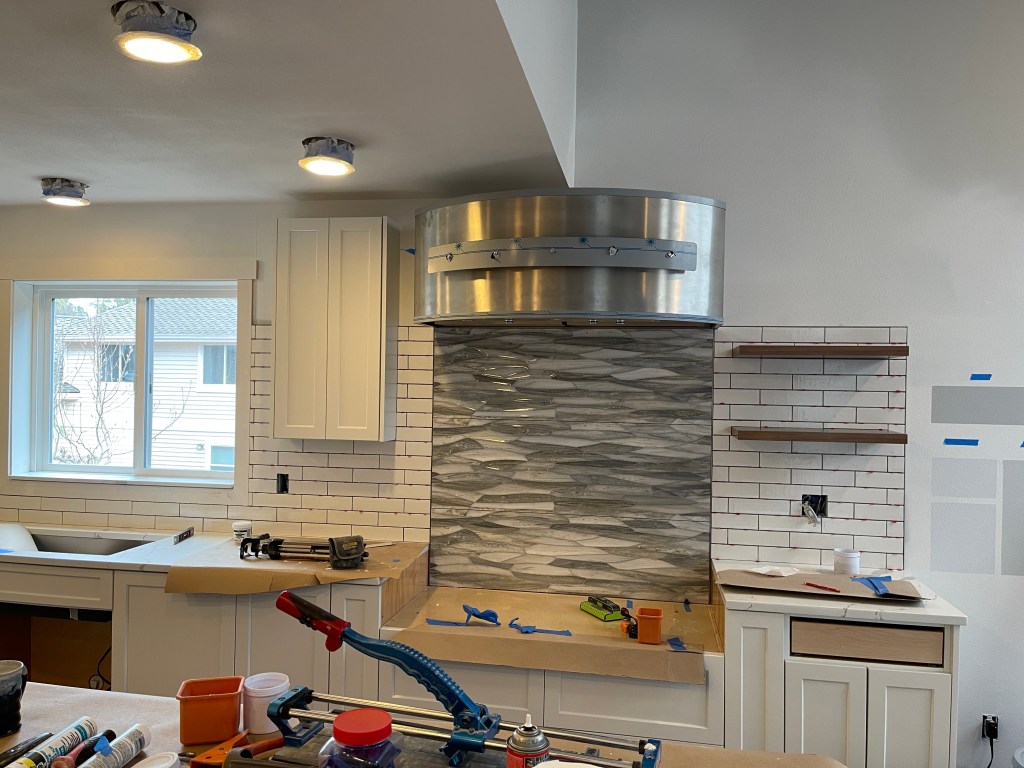
Next up was the range top.
Now for the rangetop, the plan all along was to upgrade us to gas – and not only gas, but a real “statement piece” for our main cooking area. I wanted to go with a full 48″ Wolf rangetop with a griddle. I wanted a 24″ griddle with 2 burners on each side. We did not want the full range – first, they are way more expensive, and second, we didn’t want to have to bend over to put things in the oven. We have gotten used to our wall ovens.
I also wanted to save some money on it as it’s really expensive. It’s high quality and made in the USA. The problems, though, were that at full retail it’s VERY expensive, it also never goes on sale, the specific model I wanted was also hard to find in stock anywhere, and the supply chain issues I mentioned when ordering our refrigerator also would have affected our ordering the rangetop. It could have taken 6 months to a year for it to come in.
So, this being the desired main appliance, I actually started looking for one over two years before our renovations began. I tried to shop at clearance centers, major sale days for appliance resellers, but the model I wanted never showed up. There were occasionally some similar models, say with a 12″ griddle, but never any with the 24″.
Then, lo and behold – one day while trolling eBay, I discovered an appliance shop that sold used Wolf, Viking, SubZero and other high-end appliances. I discovered them because I set up an automated search which sends out emails when something matching pops up. One day, something did. Not only was it the one I wanted, but it was over $1000 below retail price. The only problem: it was in Connecticut. Never fear: they shipped. Not only that, but they also crated it up with great care and it got here in less than two weeks. This rangetop has been here in the garage for over a year waiting for its debut.

Well crated rangetop in February 2022, lived in the garage for a long time.

Uncrated to make sure everything is there.
After waiting so long in the garage (yes, I covered it back up and kept it safe) it had to be moved only once: for the installation of our garage shelving system.
Now that th e cabinets, counters, and tile have been installed, its time has come to shine. It was installed and tested (and then promptly covered up for painting prep). Now, it has been freed and I’ve even cooked our first meal on it. We can’t do too much in the kitchen yet, though – there is still much more work to be done.
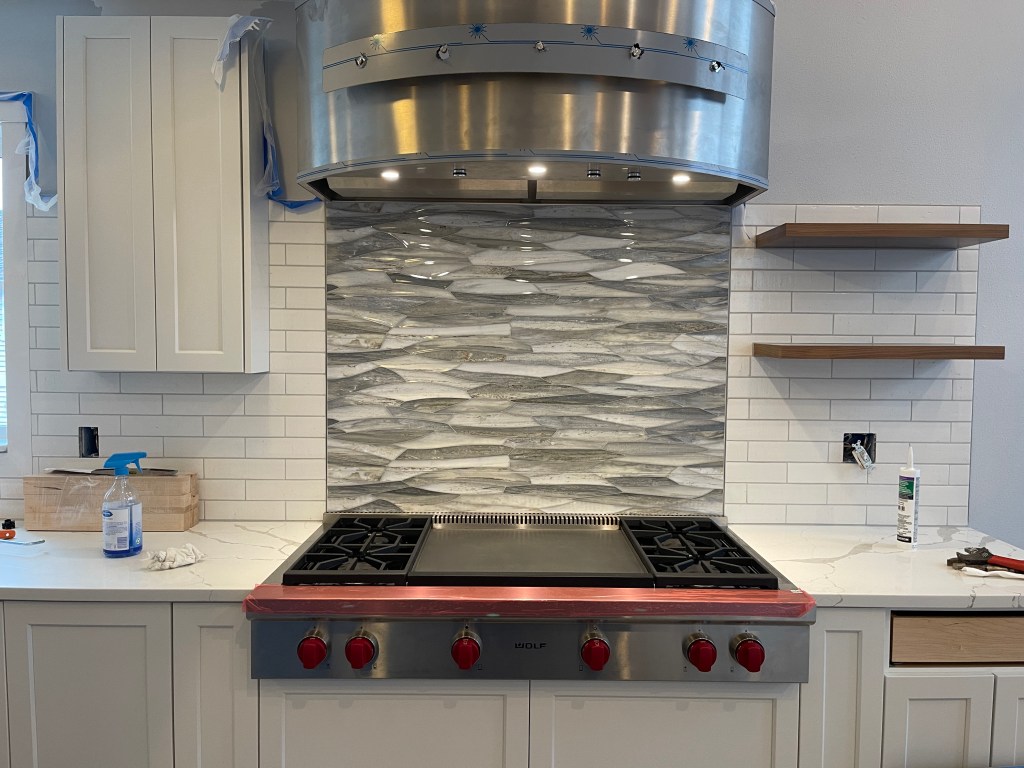
Rangetop in place. Left the plastic on the front to protect it while the renovations are taking place.
The next appliance is the oven. It will go in soon, but before that we must make sure that there is the appropriate plug in place both on the oven and the receptacle in the nook where it will be installed. Also, since we are re-using the old oven, we are installing spacers in the nook to allow us to use our 27″ oven in a 30″ space. The old oven was smaller than the new common sized models, which are all 30″. We did not want to limit future upgrades to only 27″ but didn’t want to spend the money to upgrade just yet. I mean, we are spending enough already.
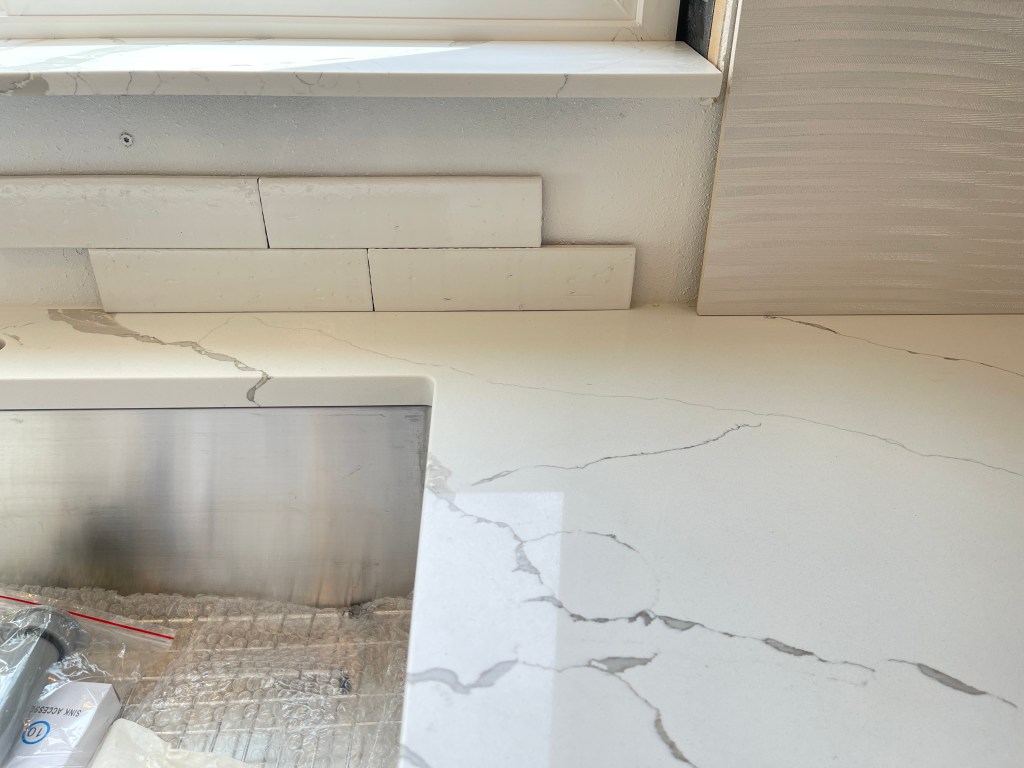
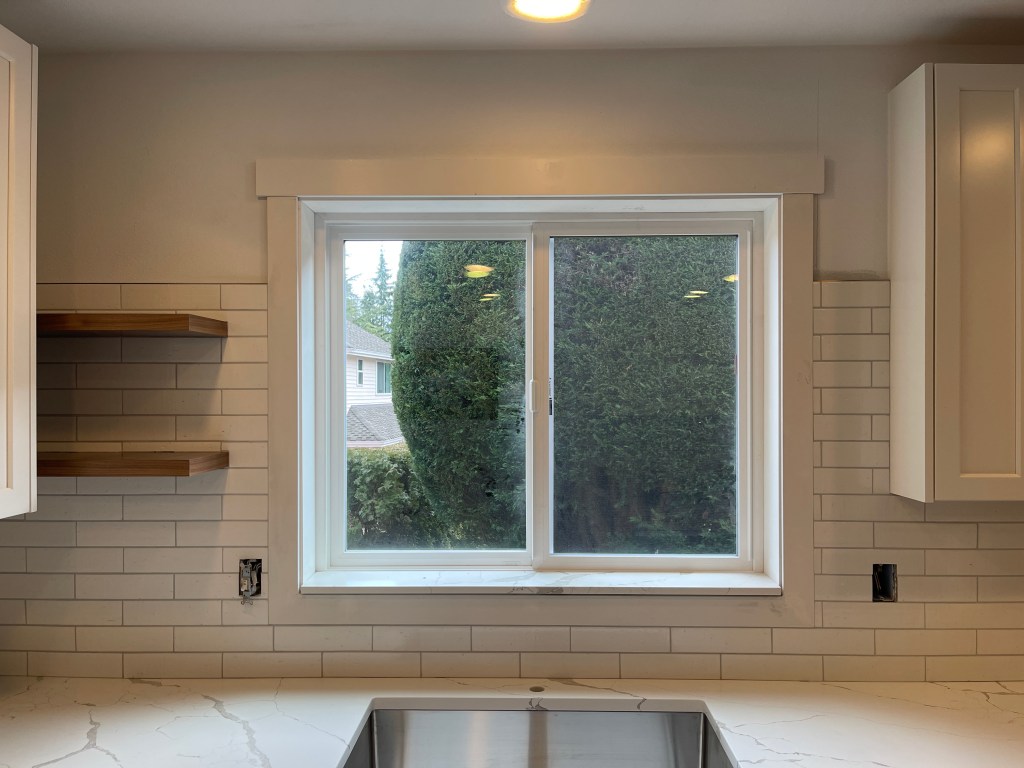
Finally, by the end of the day, the contractor installed the faucets and soap dispenser. This completed the plumbing work allowing him to attach the new disposal and hot water tank for out dedicated hot water tap.
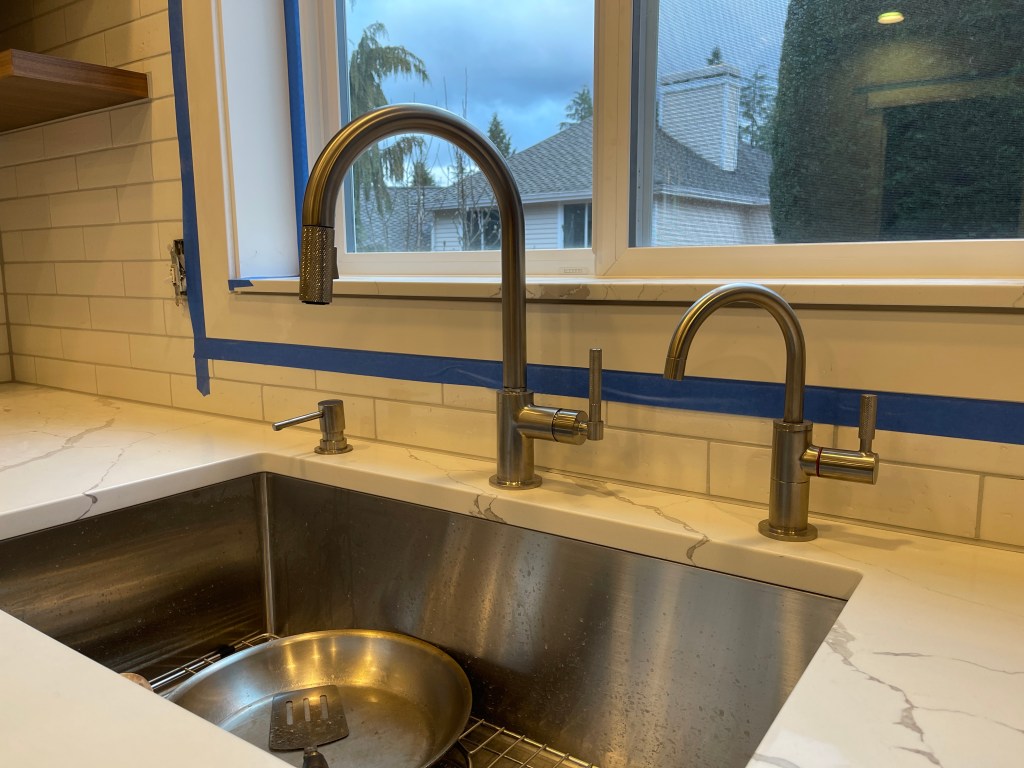
I tested the sink out by rinsing my skillet.

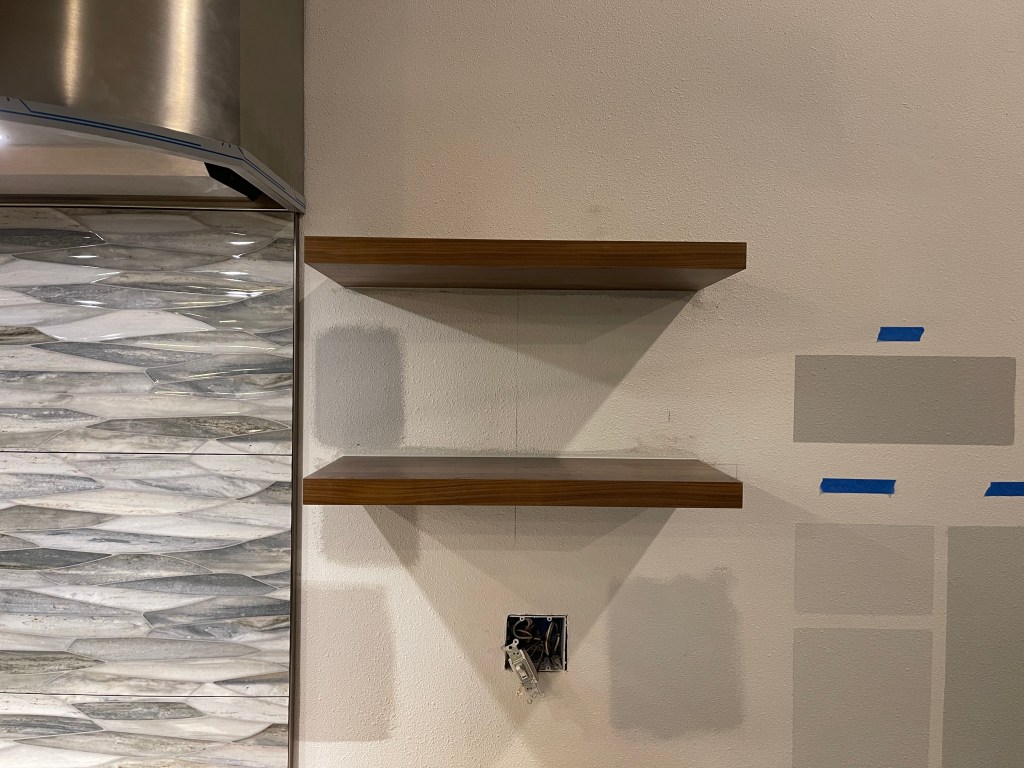
Hot water tap front and center! Also, ignore the blue stripe: that’s painter’s tape in preparation for the trim painting that will happen next.
We are getting so close!
Next up: painting.